Showing posts with label Star wars. Show all posts

Wednesday, March 14, 2012

Star Wars Birthday Party

Over the past few weeks, I've been posting about the Star Wars Birthday Party my son had.  Here is the complete listing of what went on at the party.

For invitations, I scanned in a picture he drew one day he was bored at school, I added some text, this was all done in Power Point- I couldn't post the actual invitation because it's not jpg, it's ppt, so this is the picture I used, then I wrote on it "7 years ago in a galaxy far far away, a young jedi was born".  It was in Star Wars font, which I downloaded for free here.
In case you were wondering, here's what the inside said:  Young friend, join me in an effort to strengthen my jedi force.  The rebels are growing stronger and we must be prepared.  You have been chosen to complete jedi training.  If you accept this challenge join me at:


You can view this post for the masks we wore.

You can view this post for the party favors.

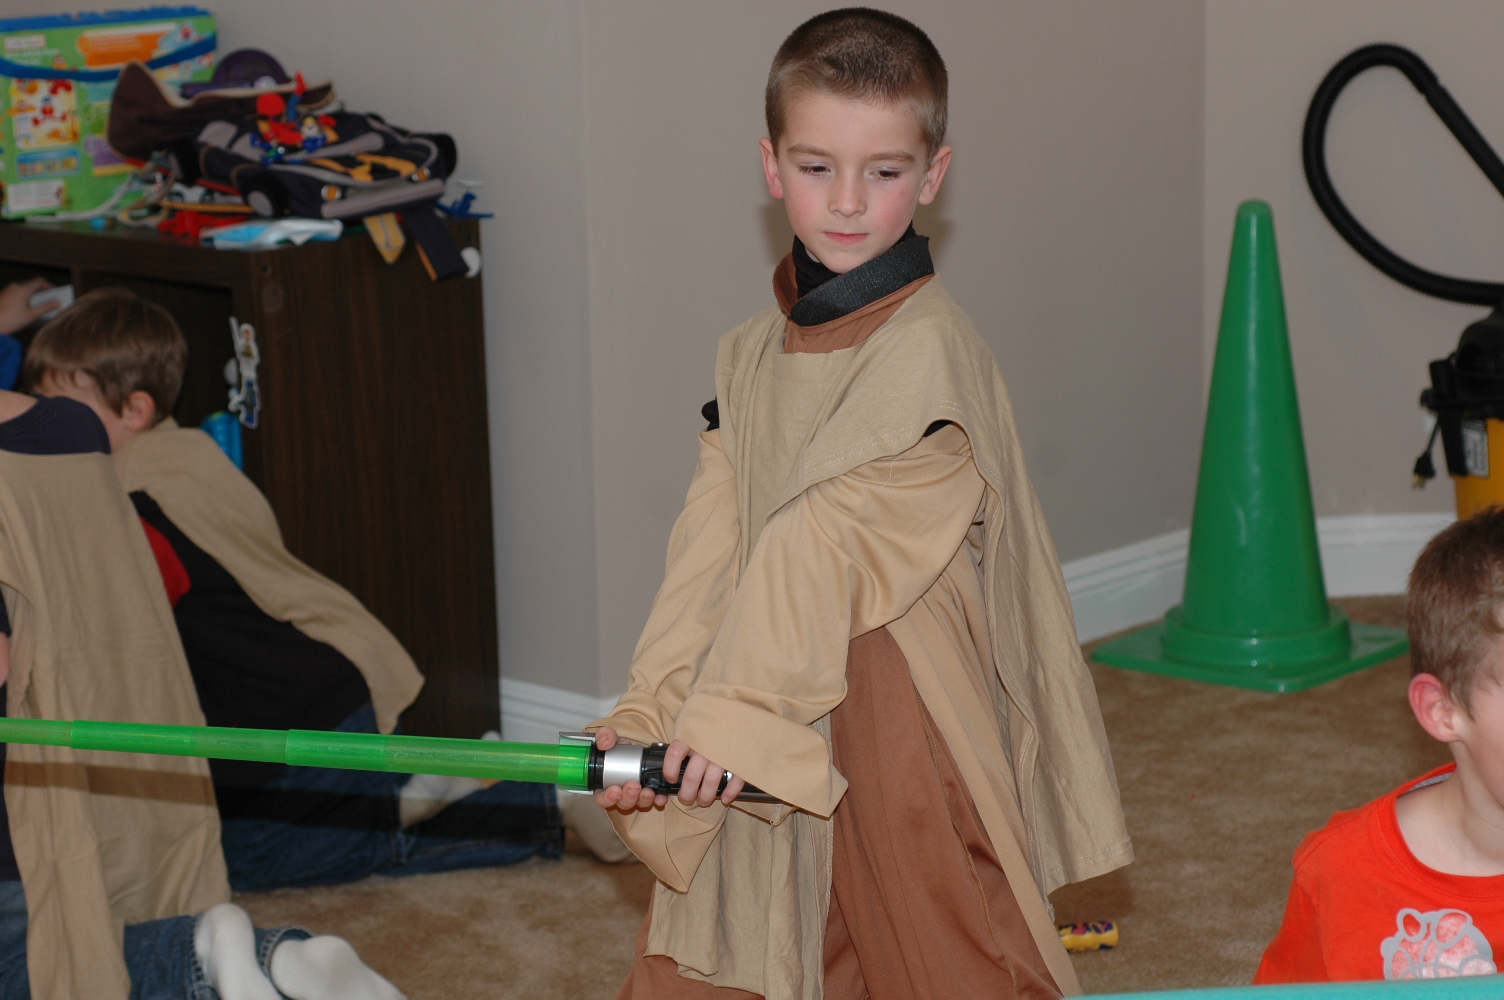
I bought a set of king sized tan sheets from Target for 24.99 and cut them up into Jedi Robes.  Since jersey doesn't fray, I was able to do these without any sewing.  I have seen ideas here and here for the robes with hoods, but I couldn't do that for 18 kids, plus it would have been more expensive just to buy the fabric.  All I did was cut rectangular lengths, folded them in half, and then cut a neckhole out of the fold.  The kids put them over their heads and they stayed on, we didn't even use rope around their waists.
For games, I made each kid a "Jedi Training" punch card.  Each time, they completed a game, they got a punch on the side, and if they got them all, they earned cake.
The games:  I found useful information here and here.
1) Pin the saber on the character.  We used rectangular shaped file labels and the kids had to place it closest to the hand on one of the characters.  Instead of drawing a picture for this game like I would normally do, I found a cheap Star Wars poster on Amazon.com, I bought it because I knew my son would want to hang it in his room after the party.  The stickers came right off too.
2) Obstacle course.  My awesome friend came over and helped me set up a fun obstacle course in the basement.  Since I was the only adult supervising the obstacle course, there are no photos.  We utilized some plastic cones, pool noodles, a low table to crawl under, a pogo stick, a chair to run circles around, and carpet circles to jump across.  The kids had a lot of fun with this!

3) Light saber ball dodge. I'm not sure what to call this game, but my son was pretty adamant to have it.  You have to use your light saber to repel balls being thrown at you.  It is in a Star Wars movie.  We used my son's light sabers and my husband threw five wiffle balls at them.
4) Dunk Darth Vader in the trash.  We used a small Darth Vader stuffed animal my son got for Christmas, and the kids had three chances to stand behind a line and throw him into the trash.

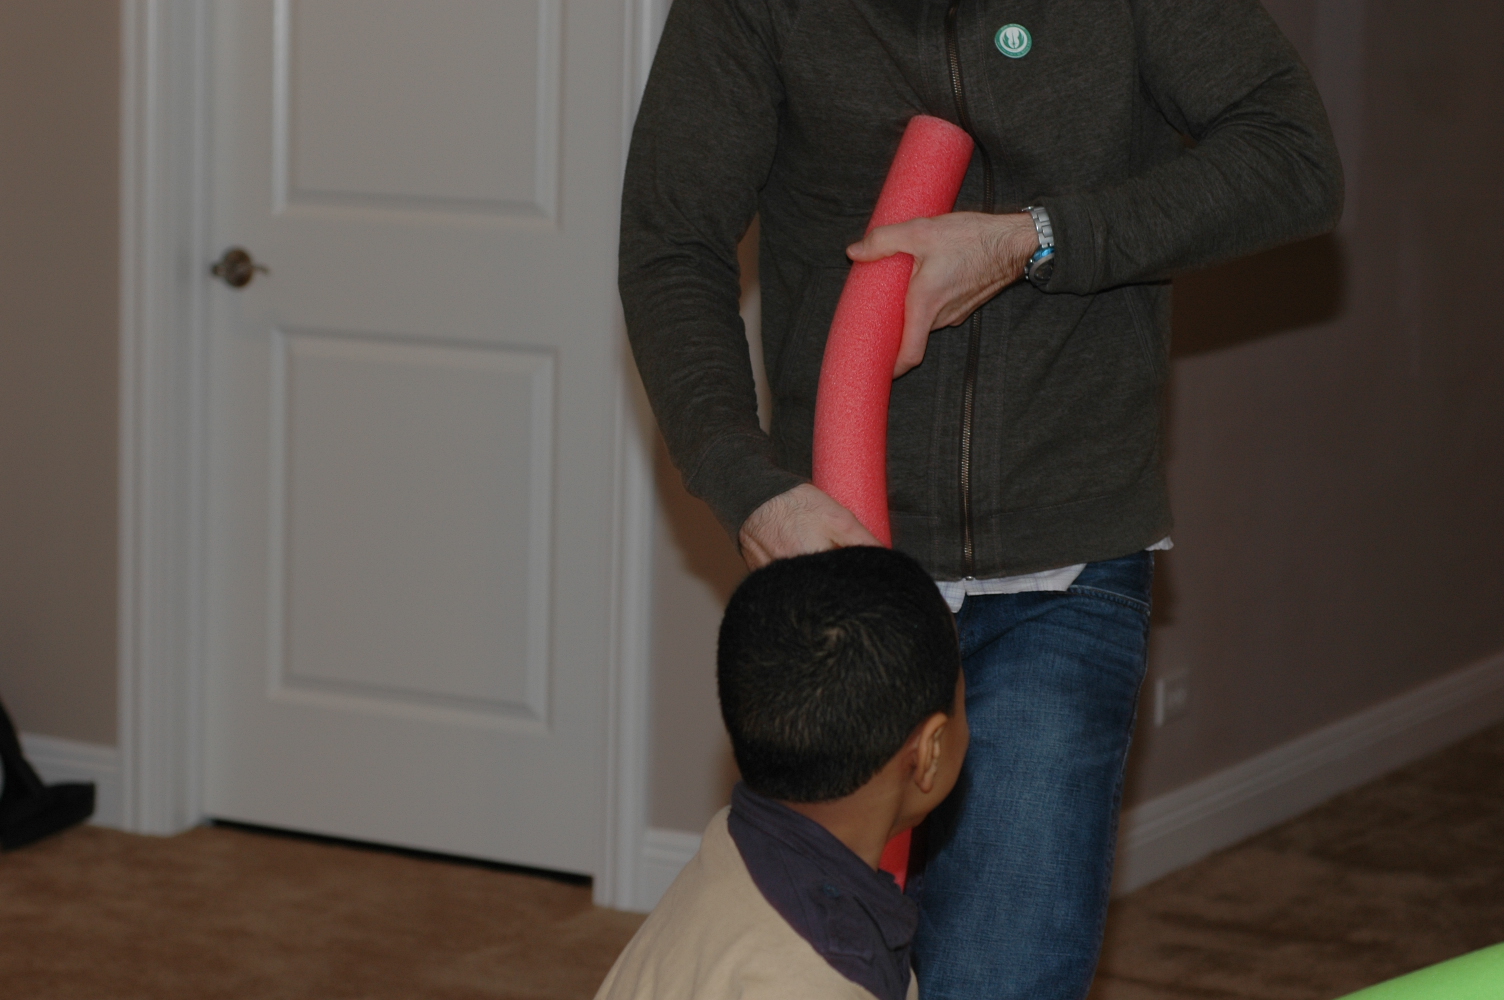
5) Defeat Darth Vader.  My husband put my son's Darth Vader mask on from Halloween and came downstairs- he put on this Jedi Badge I found on the internet and printed on cardstock.  The kids were told he stole it and was trying to learn their secrets.  In order to defeat him, they had to touch the badge with their pool noodle.  This was the biggest hit of all the games, but my poor husband really did end up bleeding, the kids took the game a little too seriously!

 This kid wasn't messing around, he broke out his real light saber and put on his real Yoda robe:
6) Cross the lava pit.  We never got to this one and I'm sad because I was excited about it.  I bought a red plastic table cloth and we had some leftover masks and the kids were supposed to leap across the tablecloth only touching the masks, while the others were throwing wiffle balls at them.  There was an important battle between Obi Wan and Anakin over a lava pit.  My son was sad we didn't play this, but hey, there's always spring break!

7) Punch Darth Vader's lights out.  I got a mylar Darth vader balloon, and holding your foot on the string, with one punch, try to get the balloon to go all the way down and touch the ground.

For food, I made labels in photoshop.  The fighter ties were gobbled up so fast, I couldn't photograph them.  I got the idea from the Star Wars Cookbook.  It's basically pigs in a blanket.  The biggest hit of all the food was the Yoda Soda.  It was just green Hawaiian Punch and Sprite mixed together, the kids LOVED it!

For the cake, I started off great with the shape of Yoda's face, but in the end, I didn't spend too much time on the detail of his face, but no one seemed to mind (part shrek/part yoda ;).  I also made the awesome cake push pops, I'll post about them next week.

For serveware, I went with plain colors.  For the Yoda Soda, I got clear cups (super cheap), so you could see the green, and we cut out pictures of yoda and taped them onto plain straws.  For the Vader Taters, we bought black cups and taped his picture on the front of the cups.  I didn't want to spend a lot of money on the paper goods, since I knew they'd be thrown away.
I found the Yoda and Darth Vader images by googling Yoda images and Darth Vader images, I right clicked, saved the image on my computer, and then pasted it into a power point a bunch of times, after I resized it.  I also found these mini printables that we used for the straws.

I hope you find this helpful if you ever want to have a Star Wars party.  For what started off as something I was afraid I knew nothing about, I ended up finding so much awesome stuff and in the end had too many things!  May the force be with you with your party planning!


Thursday, March 8, 2012

Star Wars Birthday Masks

Instead of the traditional birthday hats, I thought these masks would be much more fun and be useful after the party.

I first saw the idea a few years ago on one of my favorite blogs, Filth Wizardry.  Back then, my kids weren't even interested in Star Wars, but I kept it in the back of my head.  The link in her blog didn't work, but I was able to google Star Wars masks and found them on starwars.com.  They have several sets of masks to choose from, I chose characters that I knew my kids would like.

I printed the masks onto cardstock, then I hot glue gunned on a headband or a pair of sunglasses, instead of doing string to tie in the back.  It was much easier to put on and take off, especially for kids.  I got that idea from the Filth Wizardry blog- pure genius!  Also, if you do use sunglasses, kid sized ones might be too small for kids over age 7.
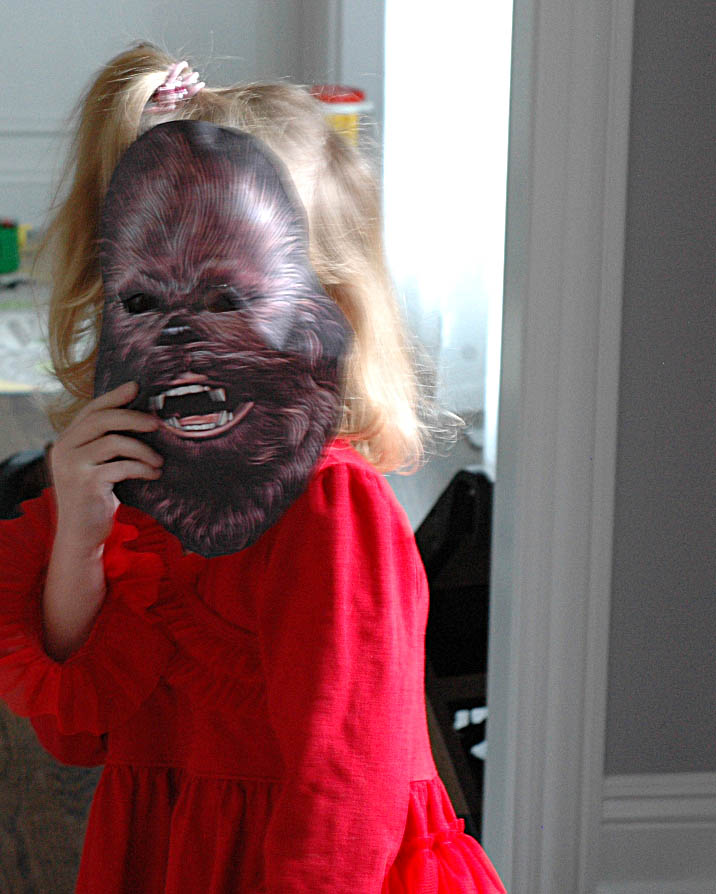
Pardon the repeat photos here of my kids in the masks-  I didn't even have time to take out my camera until almost the end of the party.  There were 15 kids 7 and under at the party, plus my 3 little ones.  My husband was the only other adult there, and he had to drop the oldest off and pick him up from another bday party at the exact same times as this one, so it was a bit hectic to say the least.  Yes, the masks were worn, I just really only got one in action:
Here's what we had to offer: yoda, obiwan kenobi,
ewok, storm trooper,
chewbacca,
c3po,
and my personal favorite, r2d2- I want to be him for Halloween, just so I can wear this mask!
I also did Darth Vader and a Princess Leia.  Those masks got hot glue gunned onto my son's crazy day hat for school last week, so I didn't get a chance to photograph them.

Check out the star wars site if you're looking for party ideas or just for some masks for a fun day playing at home.  When you print, you should be able to go into preview and resize the masks to fit the page.  I had to adjust them all to print out in full on the paper.
What you can't see in this picture, is that she is trying to put the c3po mask back on.  I think I might have better luck at her first birthday with masks instead of hats.

Saturday, March 3, 2012

Light Saber Party Favor Holders filled with Star Wars Freezer Paper T's

For my son's birthday party, he was very concerned about the favor bags because sometimes I don't make them.  I get sick of all the little trinkets they bring home from other parties, school, even the dentist, that they use for a few days, break, leave laying around for me to step on, etc.  So, I came up with an idea for something cool and functional- a t-shirt in a cardboard light saber that can also function as a real light saber!

For the light sabers, I found some awesome metallic paper on clearance at Michael's.  I was looking at the glitter paper, but this was even more awesome!!!

I cut each piece of 12x12 paper in half- so I had 2 6x12" pieces.  Then, I taped a piece of 8" x 5.5" piece of brown construction paper at the bottom of the metallic and rolled them up- I secured them at the back with packing tape.
Around the front where the metallic met the brown paper, I taped on a strip of silver paper, then I had gone to Target the day after Valentine's day and bought a ton of packs of 50% off Star Wars Valentine's.  Some came with stickers, so I taped them to the front to act like a button:
Then, I made 18 freezer paper t-shirts, which I rolled up and stuffed inside the tubes.  These were a huge hit and it was hard to keep the kids away from them at the party, so I would recommend hiding them until the party is over!
For the t-shirts, I did yoda, darth vader, c3po, and r2d2.  I found the images on the internet by googling free star wars coloring pages, I right clicked and saved the image to my desktop- you can click on the links above to access the same pages.  I used power point to paste the image and make it the size I wanted, then I used the star wars font I downloaded for free here, to write star wars across the top.

I printed the images onto the precut freezer paper printer sheets (now you know why I didn't want to cut them out of the roll of freezer paper).
I cut them out with an exacto knife and ironed them onto the shirts (beware if you use hanes or fruit of the loom t-shirts, they shrink a lot while washing, so size up (prob xl for 1st grade boys, and men's s for 2nd and 3rd).
Then, I painted them and hung them around the house to dry. I actually heat set all the shirts but Darth Vader (when I heat set one, the paint got all bubbly and kind of burnt looking).  I prewashed all the shirts before putting them into the sabers and I didn't notice any fading of the non-heat set black ones.

Voila!
Yoda and Darth Vader were the definite preferred choices, but I HAD to do the r2d2 and c3po because I really wanted an excuse to use the AWESOME metallic paint I bought.  That paint came out sooo awesome!

Yoda is glow in the dark (my dark photo skills are bad, but you get the idea)- yes, the rocking glow in the dark paint worked and awesome at that!!!!

Wednesday, February 29, 2012

Star Wars Birthday Shirt

Yesterday I posted about the Star Wars paper snowflakes I was making for my son's birthday decorations.  Today, I'm showing you how I made one of them into a stencil for a t-shirt for him.

A tradition in our house is that I always make each of the kids a special birthday shirt to wear that day.  I have been reading about freezer paper stencils forever and just never looked into it.  I have used freezer paper to cut out quilt patterns and it works awesome, so I actually had some in the house.  You can buy it at the grocery store in the aisle with the cling wrap, etc.  (I could not find it at Target.)  Anyways, freezer paper has two sides, one paper side and one slightly shiny, smooth side.  You can sketch or print your stencil template onto the paper side, and after you cut it out, the shiny side, can temporarily adhere to fabric when ironed on.  This will anchor it and allow you to use fabric paint to fill in your picture.  I read one description of freezer paper stencils as "poor man's screen printing".  I am totally hooked, call me poor man if you will!

Oh, and you can totally cheat like me, I bought a 30 pack of freezer paper printer sheets on amazon.com (you'll see why tomorrow).  If you have the time, you can take the roll of freezer paper and cut out an 8.5x11 sheet to fit in your printer- I did not feel like cutting out 20+.

When searching for ideas of what to print on the shirt, I came across a great tutorial at Dana Made It- clearly she's more advanced than me;)

Here's what you need to do:

Find a picture you want to stencil on a shirt, something without a lot of detail- unless you are a true picasso.  Print or draw the picture onto the paper side of the freezer paper.  I printed the template for the yoda snowflake on the freezer paper and cut it out with the exacto knife.  Hazel wanted to do a shirt too, so we printed out a big silhouette of Hello Kitty and cut it out.
Once your template is cut out, iron it onto a t-shirt, with the shiny side down, so it will adhere to the fabric:
Place a piece of cardboard under the layer of t-shirt you are stenciling, so the paint will not run into the other side of the shirt.  Using fabric paint (acrylic will work, but will fade a lot during washing)- you can get fabric paint at Michael's or Hobby Lobby- fill in the cut out part of your stencil.  We used sponge brushes to dab the paint in.
Let the paint dry for a few minutes, then peel the paper away and you will see your stenciled image on the shirt, hang it up to dry for several hours.  Once it is dry, place a thin piece of fabric over it, and iron it for about 30 seconds to heat set the paint so it will not fade during washing.

Here is the finished Hello Kitty, she insisted on putting a giant heart on it, since we did this the day before Valentine's Day.
Since my son was turning 7, I needed to add 1 more yoda into the picture, so I cut out a stencil of his head and place it in the center:
Considering he has worn this shirt about 7 times in the last two weeks, I'd say he loves it!

Stay tuned tomorrow for more Star Wars t-shirts!

Tuesday, February 28, 2012

Star Wars Paper Snowflakes

My son turned 7 last week, so the next few posts are going to be about his Star Wars Birthday party.  When my son told me he wanted to have a Star Wars birthday, I  got a little nervous.  I hadn't watched the movies in so long, and wasn't into them that much when I did watch them.  A few google searches later and I found some AWESOME stuff.  These paper snowflakes were among my favorite.

Picture it: me, an exacto knife, a snowflake template, and a cup of salted caramel mocha at 5 AM.  There was something peaceful about sitting there folding and cutting these little guys out in the wee dark hours of the morning (did I mention quiet morning because the kids were still sleeping?)

I had picked up a couple of kirigami books while living in Japan, but was too intimidated to open them yet (kirigami is Japanese for folding and cutting paper).  After successfully making these, I am hooked!  Be prepared for a lot more kirigami this year!

This is my favorite:
You can attach them to a string and hang them from the ceiling or tape them to the wall, either way, they are sure to stun your visitors.

I ended up only finishing three before the party, but I have found ten templates online.  I found them here at matters of grey.

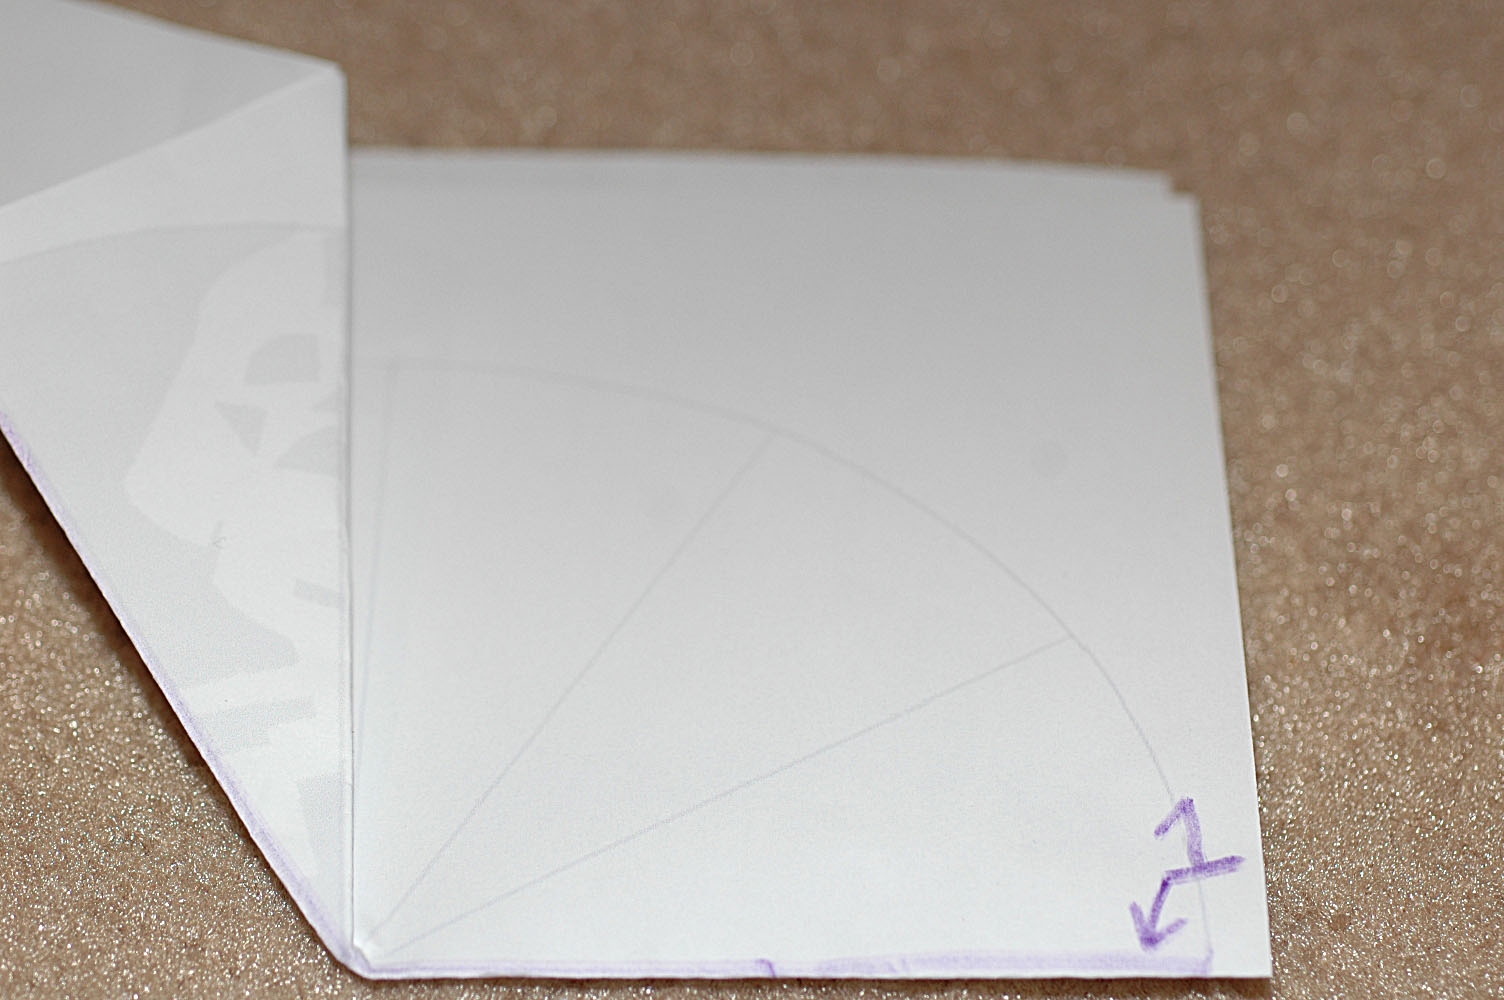
You can see some photos below that I took and edited to show how to fold the paper once you print the template.  It was the only mildly confusing part.

First, print the template.

Fold on line labelled 1, keep the side with the shadow of the character on the top:
Next, fold back on the line marked back 1, it will look like this (the shadow of the image you will be cutting, is facing back for now):
Then fold back in on the line marked "in 2"(the shadow of the image you are cutting is facing you again).:
Continue folding back and in until you finish back 3, at this point, you will have a wedge shaped accordian like piece of paper.  Using your exacto knife, cut out along the outside of the grey areas.  Unfold and:
I am saving these in a special folder, I think we will hang them up every Christmas and each year, I will try to add one more to the collection!

Now, the real question, were these for my son or for me ;)

Saturday, January 7, 2012

Busy Creating: Homemade Star Wars Valentine's Card

I know Valentine's Day is over a month away, but I am so not going to be last minute for it.  For the past several holidays, I had a lot of things I wanted to do, but never got around to it.  Not this holiday!!! I plan on posting each of my kids' homemade Valentine's ideas, one per week, for the next four weeks.  You know what they say, Prior Planning Prevents Poor Performance.

My son is REALLY into Star Wars this year.  For Halloween, he was Darth Vader.  I saw lots of ideas online where you take your kid's picture, with their hand extended, print it, cut out slots, and stick a lollipop in, like they are handing it to you from the picture.  I had this photo of my son from Halloween, so I thought it would be cute along the same lines, but with a glow stick or pixie stick in his hand, as a 3-D light saber.

Here's what you do:  Get a photo of your child in costume (if they have it), holding a light saber or such object (if they have it), or pretending to hold a light saber- try to get a close up shot, I only wish I cropped it, so he was larger in the photo.  
If you have photo editing software (you can use picnik online free), add text (I downloaded the Star Wars font here), I did a play on the most famous Star Wars quote I know ("Luke, I am your father"). :
Print them out.

Using a sharp cutting tool, make a slice about an inch long across the top of the hands and another one below the hands, this is where you will slide the candy in.

I was going to use pixie sticks or light sticks, until I found these on clearance at Walmart for $0.50 a box!!!
Slide the candy into the slots (I hope Darth Vader is strong enough to carry this):
Make a lot!  
I hope this inspired you to start working on your Valentine's too!  I just love homemade ones, don't you?