Showing posts with label craft. Show all posts

Saturday, June 2, 2012

Homemade Photo Bookmarks

I can't believe it, but today is my son's last day of Kindergarten.  I am in shock that it is already June and that the school year has already zoomed by.  This was not only his first year of Kindergarten, but it was also his teacher's first year teaching.  I thought she did an excellent job and wanted to give her something nice as a thank you.

I saw the idea for these bookmarks online at Pink and Green Mama and Creative Family Moments.  I saw it again in Family Fun magazine, April 2012 issue, it was like a sign that I needed to make them.  For a gift, I thought it would be fun for his teacher to have this bookmark to remember him and also, we attached a gift card for Barnes and Noble.  Who wants a bookmark without a book?

While I was at Barnes and Noble, I checked out their bookmarks, which were upwards of $5 each!  This bookmark cost me 19 cents to make (cost of 1 hour print).  I plan on making a lot more of these for my kids for their own use, and maybe even for Father's Day, who wouldn't love to receive a unique homemade photo bookmark?

Here are some step by step instructions, in case you want to make your own.  Don't skip the tassles, I think they make the bookmark!

Take a photo of your child in a pose like they are hanging on- the morning I did this, my son was less than cooperative, so I didn't get a great pose:
Print it out, cut around the silhouette, laminate the photo, and cut out around the laminated image.  If you don't have a laminator, you can buy sticky laminating sheets, or use clear contact paper.  I had my son write his name and the year on the back before we laminated.  You can play with it for a while too:
1) Wrap embroidery floss around a notecard, about 20 times.
2) Insert another piece of embroidery floss, about 10-12 inches long through the wrapped floss.  I used ten inches because I wanted my tassle a little bit shorter.

3) Tie the ends of the long floss together in a double or triple know.  Trim the ends off.

4) For the wrapped floss, cut through the top of the loop.  Once you remove the notecard, trim the ends of the top of the tassle, so they are even.
5) Using a small piece of embroidery floss, about 4 inches long, loop around the bottom of the tassle and tie into a double knot.  Trim the ends of the floss off.  This will help keep the tassle ends together.

6) Punch a hole in the top of the laminated bookmark.  Pull the end of the floss loop through the hole.

7) Take the top of the tassle and thread it through the floss loop.  Pull tight and now your tassle is attached and your bookmark is complete!

Have fun hanging around all summer, reading!
Peek-a-boo, I can still see you!
Hooray for wonderful teachers!

Thursday, March 8, 2012

Star Wars Birthday Masks

Instead of the traditional birthday hats, I thought these masks would be much more fun and be useful after the party.

I first saw the idea a few years ago on one of my favorite blogs, Filth Wizardry.  Back then, my kids weren't even interested in Star Wars, but I kept it in the back of my head.  The link in her blog didn't work, but I was able to google Star Wars masks and found them on starwars.com.  They have several sets of masks to choose from, I chose characters that I knew my kids would like.

I printed the masks onto cardstock, then I hot glue gunned on a headband or a pair of sunglasses, instead of doing string to tie in the back.  It was much easier to put on and take off, especially for kids.  I got that idea from the Filth Wizardry blog- pure genius!  Also, if you do use sunglasses, kid sized ones might be too small for kids over age 7.
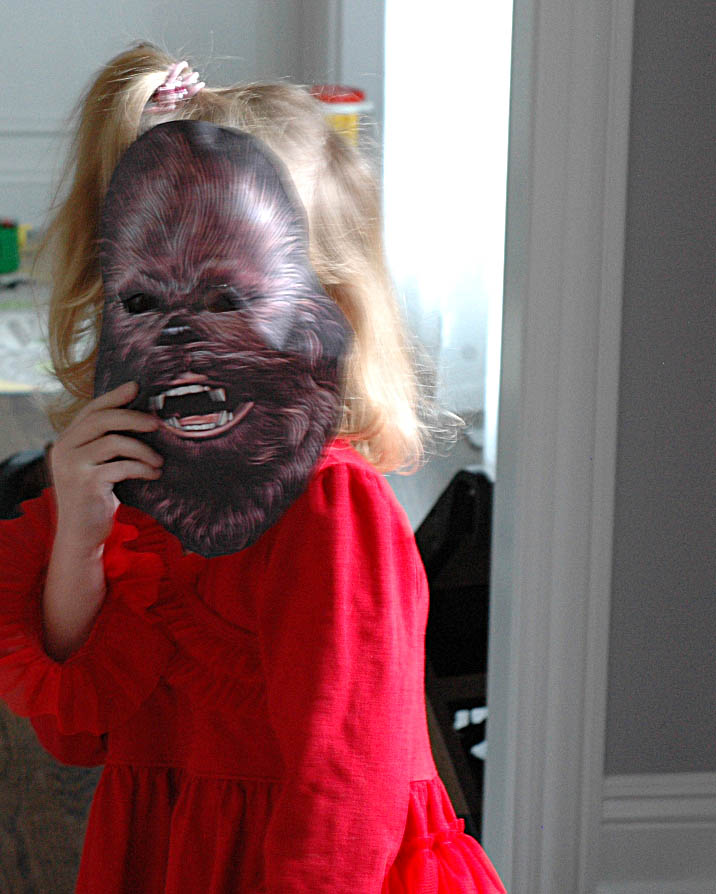
Pardon the repeat photos here of my kids in the masks-  I didn't even have time to take out my camera until almost the end of the party.  There were 15 kids 7 and under at the party, plus my 3 little ones.  My husband was the only other adult there, and he had to drop the oldest off and pick him up from another bday party at the exact same times as this one, so it was a bit hectic to say the least.  Yes, the masks were worn, I just really only got one in action:
Here's what we had to offer: yoda, obiwan kenobi,
ewok, storm trooper,
chewbacca,
c3po,
and my personal favorite, r2d2- I want to be him for Halloween, just so I can wear this mask!
I also did Darth Vader and a Princess Leia.  Those masks got hot glue gunned onto my son's crazy day hat for school last week, so I didn't get a chance to photograph them.

Check out the star wars site if you're looking for party ideas or just for some masks for a fun day playing at home.  When you print, you should be able to go into preview and resize the masks to fit the page.  I had to adjust them all to print out in full on the paper.
What you can't see in this picture, is that she is trying to put the c3po mask back on.  I think I might have better luck at her first birthday with masks instead of hats.

Saturday, March 3, 2012

Light Saber Party Favor Holders filled with Star Wars Freezer Paper T's

For my son's birthday party, he was very concerned about the favor bags because sometimes I don't make them.  I get sick of all the little trinkets they bring home from other parties, school, even the dentist, that they use for a few days, break, leave laying around for me to step on, etc.  So, I came up with an idea for something cool and functional- a t-shirt in a cardboard light saber that can also function as a real light saber!

For the light sabers, I found some awesome metallic paper on clearance at Michael's.  I was looking at the glitter paper, but this was even more awesome!!!

I cut each piece of 12x12 paper in half- so I had 2 6x12" pieces.  Then, I taped a piece of 8" x 5.5" piece of brown construction paper at the bottom of the metallic and rolled them up- I secured them at the back with packing tape.
Around the front where the metallic met the brown paper, I taped on a strip of silver paper, then I had gone to Target the day after Valentine's day and bought a ton of packs of 50% off Star Wars Valentine's.  Some came with stickers, so I taped them to the front to act like a button:
Then, I made 18 freezer paper t-shirts, which I rolled up and stuffed inside the tubes.  These were a huge hit and it was hard to keep the kids away from them at the party, so I would recommend hiding them until the party is over!
For the t-shirts, I did yoda, darth vader, c3po, and r2d2.  I found the images on the internet by googling free star wars coloring pages, I right clicked and saved the image to my desktop- you can click on the links above to access the same pages.  I used power point to paste the image and make it the size I wanted, then I used the star wars font I downloaded for free here, to write star wars across the top.

I printed the images onto the precut freezer paper printer sheets (now you know why I didn't want to cut them out of the roll of freezer paper).
I cut them out with an exacto knife and ironed them onto the shirts (beware if you use hanes or fruit of the loom t-shirts, they shrink a lot while washing, so size up (prob xl for 1st grade boys, and men's s for 2nd and 3rd).
Then, I painted them and hung them around the house to dry. I actually heat set all the shirts but Darth Vader (when I heat set one, the paint got all bubbly and kind of burnt looking).  I prewashed all the shirts before putting them into the sabers and I didn't notice any fading of the non-heat set black ones.

Voila!
Yoda and Darth Vader were the definite preferred choices, but I HAD to do the r2d2 and c3po because I really wanted an excuse to use the AWESOME metallic paint I bought.  That paint came out sooo awesome!

Yoda is glow in the dark (my dark photo skills are bad, but you get the idea)- yes, the rocking glow in the dark paint worked and awesome at that!!!!

Wednesday, February 29, 2012

Star Wars Birthday Shirt

Yesterday I posted about the Star Wars paper snowflakes I was making for my son's birthday decorations.  Today, I'm showing you how I made one of them into a stencil for a t-shirt for him.

A tradition in our house is that I always make each of the kids a special birthday shirt to wear that day.  I have been reading about freezer paper stencils forever and just never looked into it.  I have used freezer paper to cut out quilt patterns and it works awesome, so I actually had some in the house.  You can buy it at the grocery store in the aisle with the cling wrap, etc.  (I could not find it at Target.)  Anyways, freezer paper has two sides, one paper side and one slightly shiny, smooth side.  You can sketch or print your stencil template onto the paper side, and after you cut it out, the shiny side, can temporarily adhere to fabric when ironed on.  This will anchor it and allow you to use fabric paint to fill in your picture.  I read one description of freezer paper stencils as "poor man's screen printing".  I am totally hooked, call me poor man if you will!

Oh, and you can totally cheat like me, I bought a 30 pack of freezer paper printer sheets on amazon.com (you'll see why tomorrow).  If you have the time, you can take the roll of freezer paper and cut out an 8.5x11 sheet to fit in your printer- I did not feel like cutting out 20+.

When searching for ideas of what to print on the shirt, I came across a great tutorial at Dana Made It- clearly she's more advanced than me;)

Here's what you need to do:

Find a picture you want to stencil on a shirt, something without a lot of detail- unless you are a true picasso.  Print or draw the picture onto the paper side of the freezer paper.  I printed the template for the yoda snowflake on the freezer paper and cut it out with the exacto knife.  Hazel wanted to do a shirt too, so we printed out a big silhouette of Hello Kitty and cut it out.
Once your template is cut out, iron it onto a t-shirt, with the shiny side down, so it will adhere to the fabric:
Place a piece of cardboard under the layer of t-shirt you are stenciling, so the paint will not run into the other side of the shirt.  Using fabric paint (acrylic will work, but will fade a lot during washing)- you can get fabric paint at Michael's or Hobby Lobby- fill in the cut out part of your stencil.  We used sponge brushes to dab the paint in.
Let the paint dry for a few minutes, then peel the paper away and you will see your stenciled image on the shirt, hang it up to dry for several hours.  Once it is dry, place a thin piece of fabric over it, and iron it for about 30 seconds to heat set the paint so it will not fade during washing.

Here is the finished Hello Kitty, she insisted on putting a giant heart on it, since we did this the day before Valentine's Day.
Since my son was turning 7, I needed to add 1 more yoda into the picture, so I cut out a stencil of his head and place it in the center:
Considering he has worn this shirt about 7 times in the last two weeks, I'd say he loves it!

Stay tuned tomorrow for more Star Wars t-shirts!

Tuesday, February 28, 2012

Star Wars Paper Snowflakes

My son turned 7 last week, so the next few posts are going to be about his Star Wars Birthday party.  When my son told me he wanted to have a Star Wars birthday, I  got a little nervous.  I hadn't watched the movies in so long, and wasn't into them that much when I did watch them.  A few google searches later and I found some AWESOME stuff.  These paper snowflakes were among my favorite.

Picture it: me, an exacto knife, a snowflake template, and a cup of salted caramel mocha at 5 AM.  There was something peaceful about sitting there folding and cutting these little guys out in the wee dark hours of the morning (did I mention quiet morning because the kids were still sleeping?)

I had picked up a couple of kirigami books while living in Japan, but was too intimidated to open them yet (kirigami is Japanese for folding and cutting paper).  After successfully making these, I am hooked!  Be prepared for a lot more kirigami this year!

This is my favorite:
You can attach them to a string and hang them from the ceiling or tape them to the wall, either way, they are sure to stun your visitors.

I ended up only finishing three before the party, but I have found ten templates online.  I found them here at matters of grey.

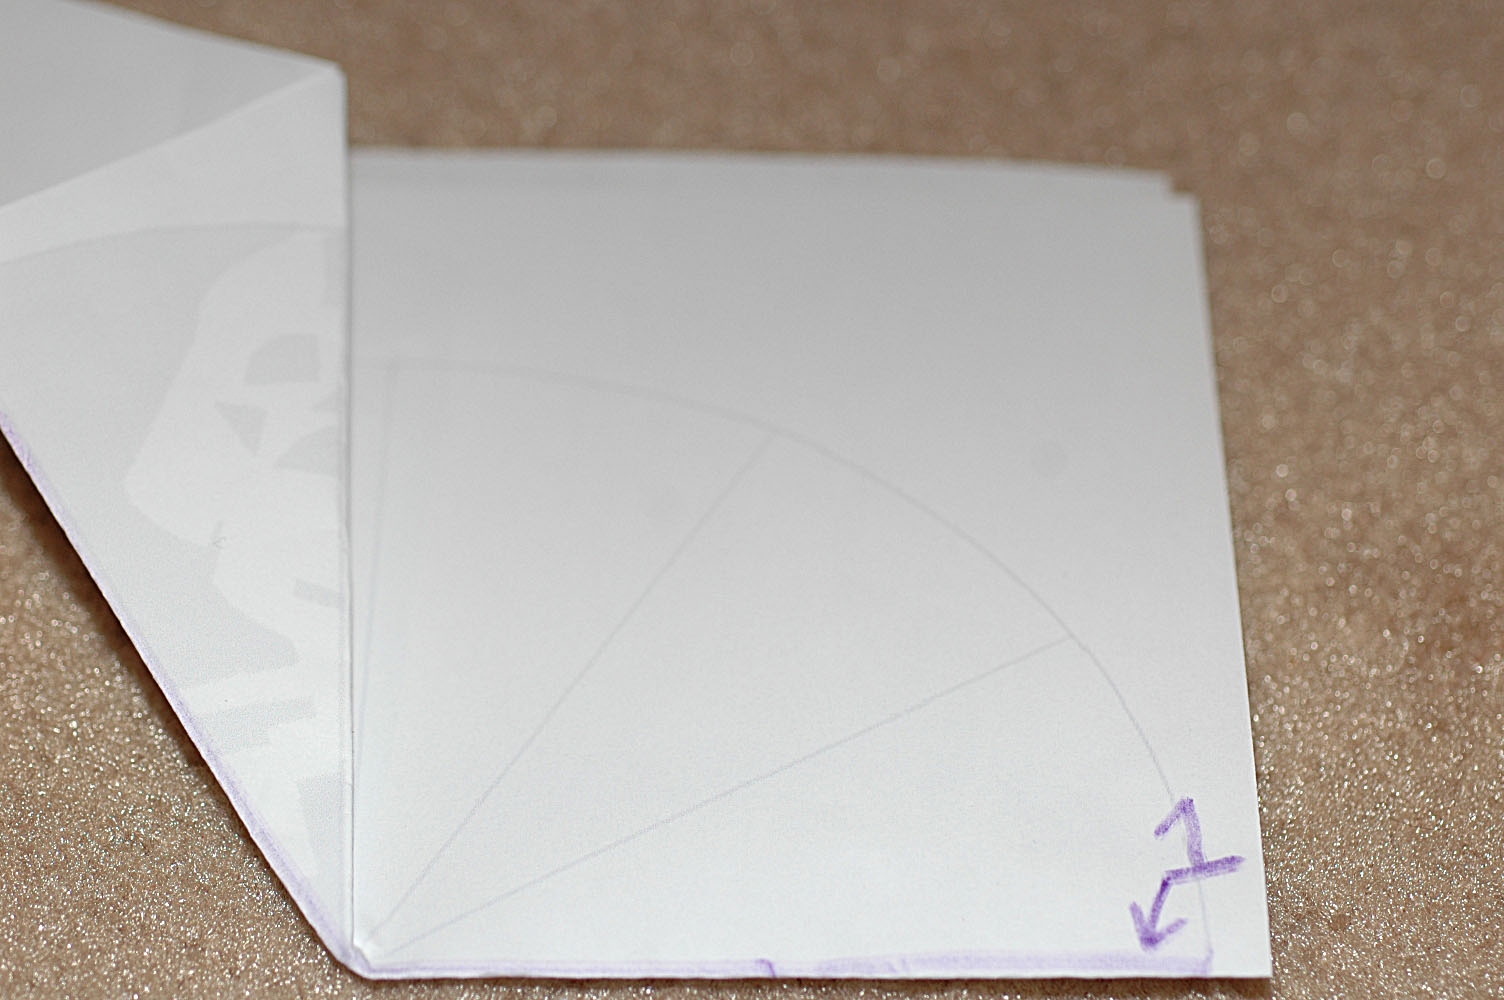
You can see some photos below that I took and edited to show how to fold the paper once you print the template.  It was the only mildly confusing part.

First, print the template.

Fold on line labelled 1, keep the side with the shadow of the character on the top:
Next, fold back on the line marked back 1, it will look like this (the shadow of the image you will be cutting, is facing back for now):
Then fold back in on the line marked "in 2"(the shadow of the image you are cutting is facing you again).:
Continue folding back and in until you finish back 3, at this point, you will have a wedge shaped accordian like piece of paper.  Using your exacto knife, cut out along the outside of the grey areas.  Unfold and:
I am saving these in a special folder, I think we will hang them up every Christmas and each year, I will try to add one more to the collection!

Now, the real question, were these for my son or for me ;)

Thursday, January 26, 2012

DIY Valentine's Mailboxes

About a month ago, I began to have Valentine's Day on the brain.  I went crazy pinning stuff on my pinterest board that I wanted to make.  One thing in particular was these Valentine's mailboxes.

Um, who doesn't love opening up the mailbox and finding a crisp envelope - preferably a colored envelope, with a real stamp on it,  and handwritten addressed to you?  OK, I sound desperate, but sorry, it's sad getting so much junk mail and catalogs and nothing fun.

If the mail isn't coming to us, we'll send it to ourselves for now.  So, the day after I pinned them, I went to Target dollar bin and bought 7 mailboxes.  I didn't have much choice in the colors, all they had was turquoise and white ones.

The next day, we went to Goodwill and for the first time, instead of dropping stuff off, we went in.  We got seven candle sticks for $0.99 each!
I let Hazel choose the paint colors, and just like I would have, she chose rainbow colors.
She painted all the candle sticks by herself, it took about two weeks to finish - we've been busy.  We did all surfaces, wood, metal, and glass with the acrylic paints we had- we did not sand or prime any of them.
I hot glued all the mailboxes onto the stands.
I cut out letters for their initials out of the scrapbooking paper that I've had laying around for 8 years, thinking it'll actually make it into an album - chuckle!  In my perfect world, I would have done all solids- doesn't this one look so nice?
But they are for the kids, so I let them choose which paper they wanted me to use.

Except dad, I chose his ;)
There have been many communal gatherings around these lately, wondering when we can use them. I think I have created a monster here.
When will I open mine and find something inside?
Send my kids some mail already!

This project has motivated me to finish something I've wanted to do for the kids for the past three years.  Stay tuned tomorrow to see the new Letter Center I made for the kids.

Monday, January 16, 2012

Valentine's Handprint Canvas Wallhanging

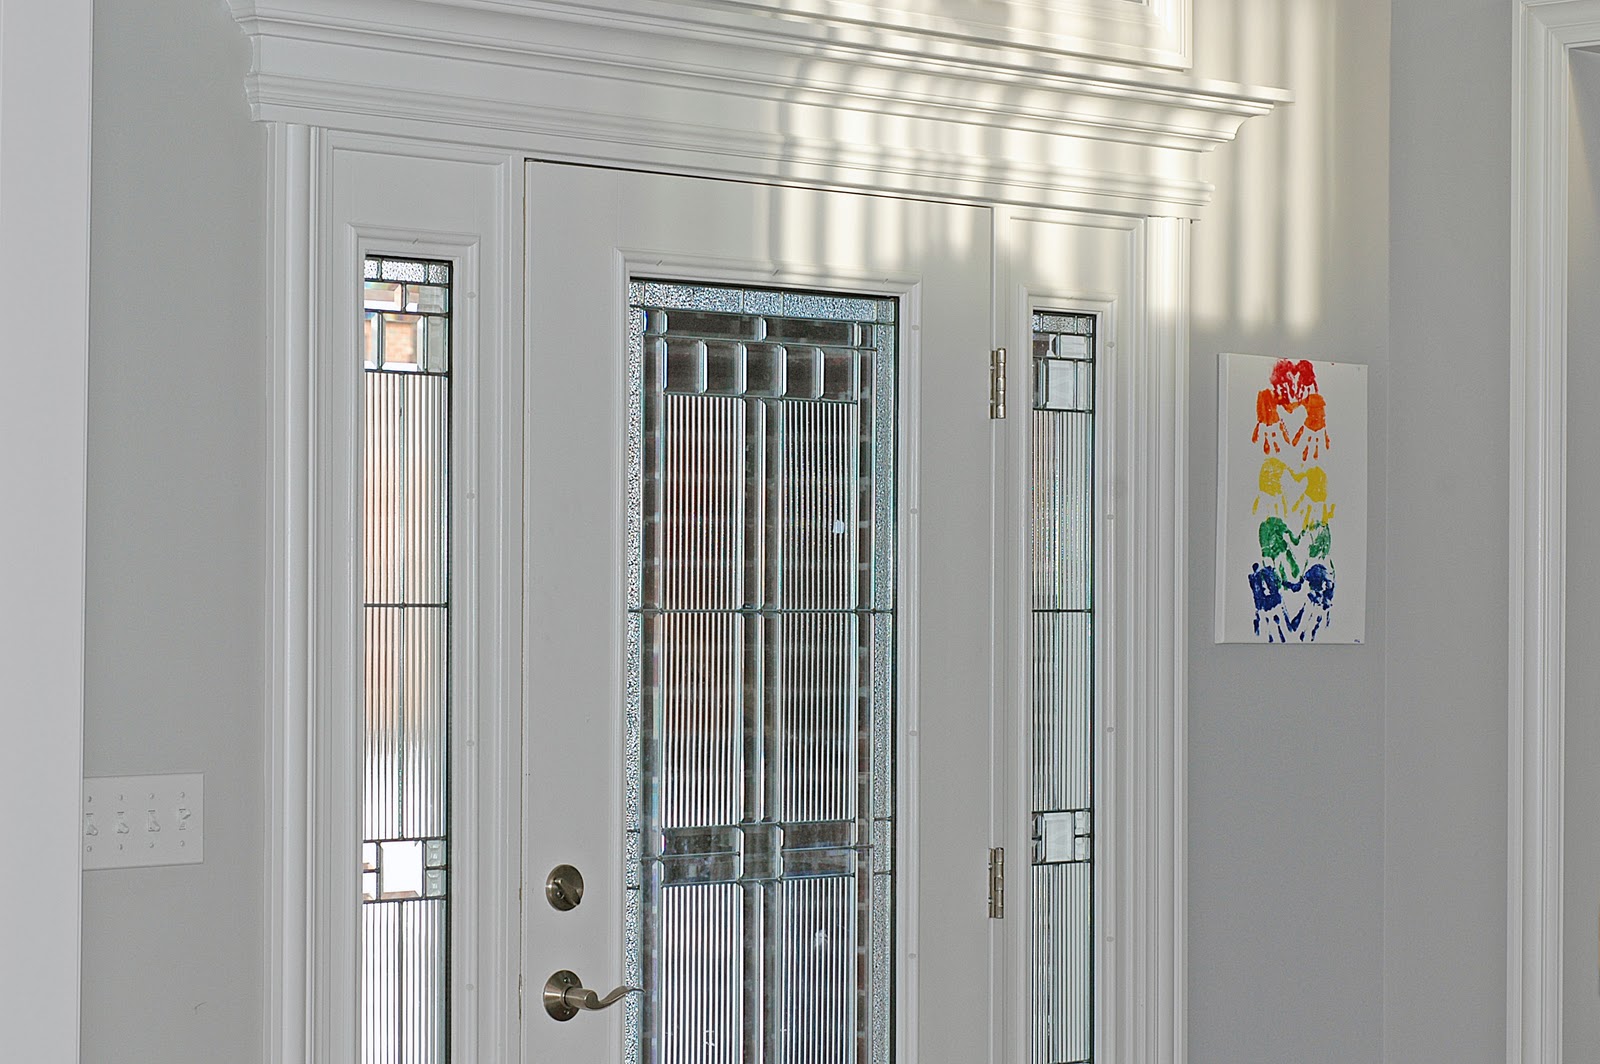
Every year I like to do a craft with a kids that involves their hand prints.  I initially bought this canvas to make a handprint Christmas tree wall hanging, but I never got around to taking it out of the bag.  My entry way is quite drab, grey paint with white trim- we are slow for hanging up decorations, so I thought a nice bright canvas would make the area more fun and inviting.

Using acrylic paints that I already had, I painted the kids' hands, one at a time and pressed them onto the canvas.  You can buy the canvas at Michael's with a 50% off coupon and it's not that expensive.  

I started at the top with the baby- holding her fingers slightly spread out and tilted her hand slightly, so that when they were both on, they'd form a heart shape between the thumb and pointer finger, when the hands are upside down.
After everyone's hand prints were on, I used my colored sharpies and wrote their names on the inside of their hearts.  I put the year in the bottom right hand corner and hung it up.  This was an easy, cheap, and quick way to add some personal touch to our new home.

I love how the color pops in my entryway, I get to look at this everytime I come down the stairs :)