Showing posts with label super mario. Show all posts

Thursday, November 10, 2011

Busy Sewing: Homemade Pillow Pets

Let me just start off by saying, "I LOVE THESE!!!"  I am turning our homemade Angry Super Bird costumes into pillows.  Are you looking for ideas for Christmas?  I am planning on making some Star Wars themed one for my kids for Christmas.

You can follow the tutorial here to make normal Angry Birds costumes.  If you are going to make the pillows, you do not need to use the muslin.  You can just do the felt.

You can make any character you want.  I found this link to a page with characters cartoonified in circles- which would make it easier for you to make a round pillow looking like your child's favorite character.

Start off with felt- approximately .5 to .75 yards, depending how big you want to make it. You need to cut two circles of your main felt.  To make a circle, fold the felt in half, then in half again.  On the corner between the two sides with folds, place a piece of yarn, then stretch it out along the edge of the felt.  While holding the yarn stretched out, draw an arch across the felt to the other side by moving the yarn like a pendulum and keeping the marker at the far end of the yarn.  Cut along this line, open it up and you will have a circle.  Cut out one more.  For this Super Mario pillow, I used a 13 inch piece of yarn, so the circle ends up being 26 inches wide.
Attach your felt pieces to the front of the face circle.  I opted to sew mine on with a wide stitch.  You can hot glue them too.

Sew the front to the back of the pillow- the design should be on the inside.  Leave a six to eight inch wide opening so you can invert the pillow and then stuff it.
Invert the pillow, so the right side is facing out:
Stuff the pillow- I used about 1.25 bags of fill for the pillow.  I could have used more, but I didn't want to make it too firm.  I got the fill for 2.99 a bag at Hobby Lobby.  After it's filled, carefully pin together the opening, rolling some of the felt into the opening, so you don't have a rough edge.  Sew this closed using a topstitch, you can do it by hand too.

Finished product:
Someone is taking after her mama and likes to take pics of things we make:
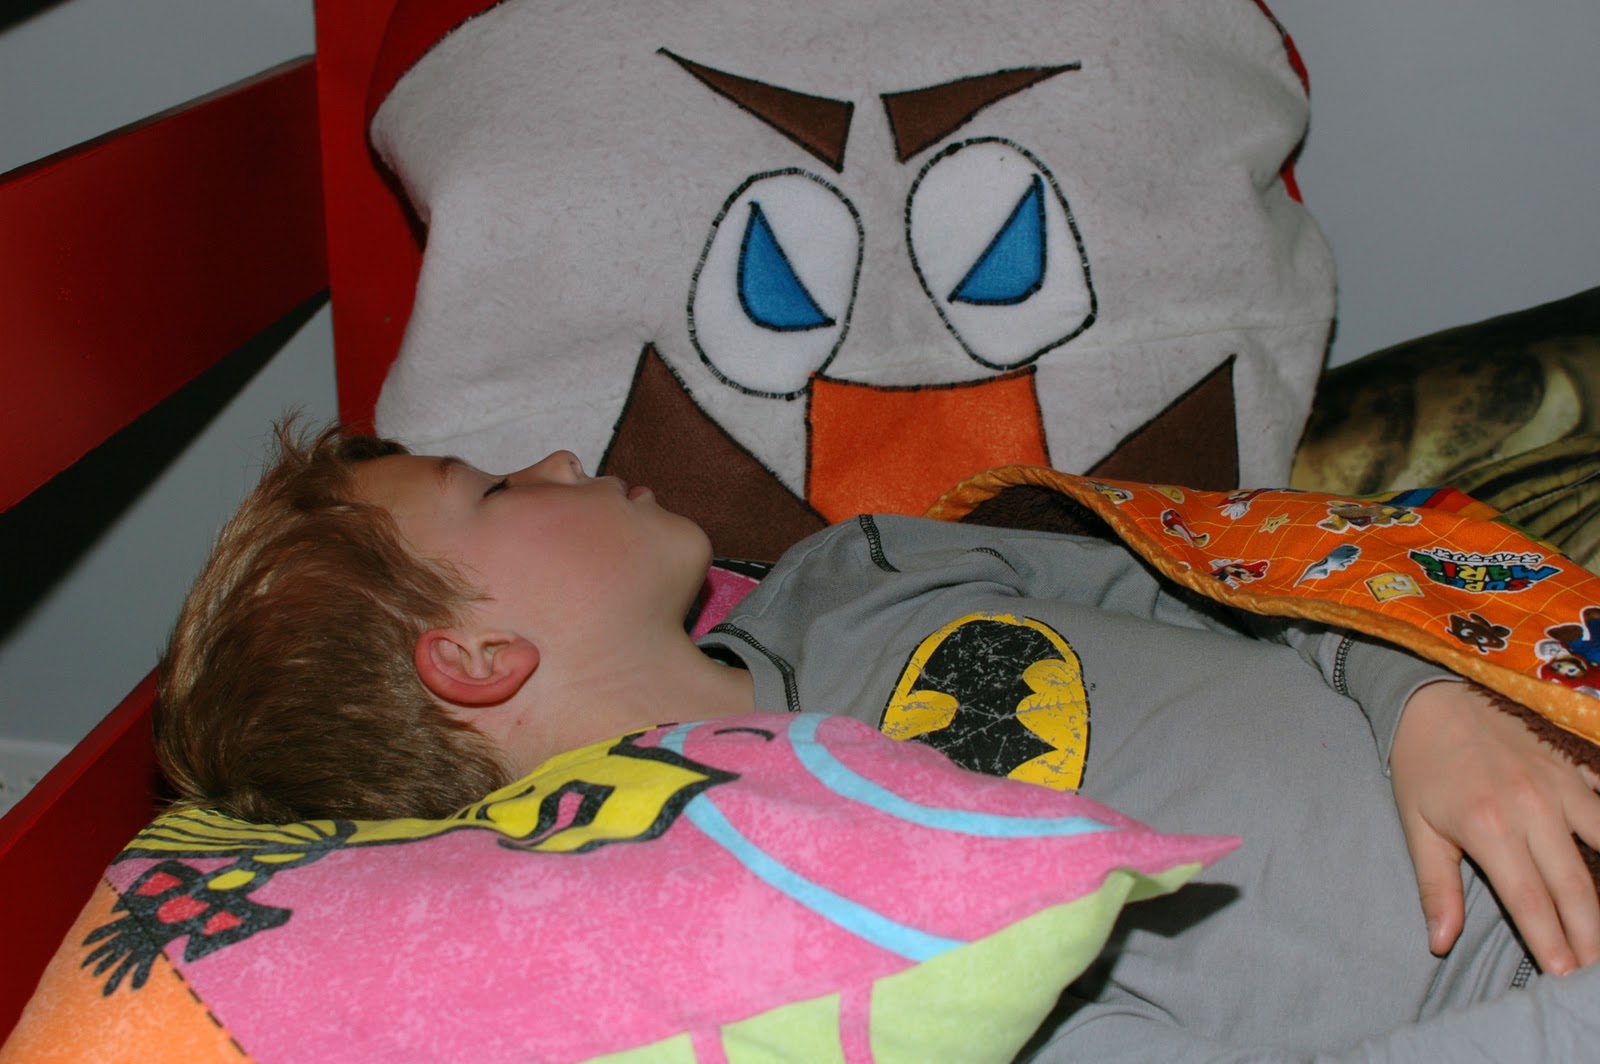
Perfect for little bodies to lay on:
I wonder if he's going to be freaked out if he wakes up in the middle of the night and sees this staring at him.

Wednesday, November 9, 2011

Busy Creating: Halloween Costumes

I wanted to get these up before Halloween, in case anyone needed a last minute idea, but with my wrist and all, the costumes didn't even all get finished until 5 AM on Halloween morning.  I usually like to do a theme for our whole family's costumes - makes for an interesting Christmas card.  This year, however, with the unpacking, my wrist, the baby, etc., I was't even sure I'd be able to make one costume.  I knew I wanted to do something with Angry Birds this year because my kids played it a LOT on my dad's ipad and think it's really fun.  I searched online for Angry Bird costume ideas and I found a tutorial on twin dragonfly designs blog that I really liked and seemed easy enough to do with my limited time.

My oldest son was so indecisive about a costume this year, at one point, he mentioned not even dressing up (unheard of!).  In my search for Angry Bird costumes, I found this page with some cool cartoon spoofs of Angry Bird Superheroes.  I knew instantly that I wanted to make us Angry Bird-like costumes, but of our favorite characters.  As soon as I mentioned to my son that I would make him Angry Mario, he was all for it.  I wasn't sure how my design would come out, but he was absolutely thrilled!
The Angry Spiderbird was supposed to be for my second oldest son, but he insisted on being Darth Vader.  As soon as he saw the completed outfit, complete with the hat and gloves I found at Kohl's, he decided he would be that next year.  And Owen insisted I could not color the spider in black, but had to leave it as an outline.  All the webs were done with a sharpie.
As a rule, I don't download games onto my phone for the kids to play, but since I was busy making the costumes, I downloaded Angry Bird Seasons to keep Hazel occupied.  The new character Balloon Bird is soooo awesome, I had to make it for Maeve!
I liked the look of Batbird, so I made them for the adults.  I wasn't going for cheesy cute, honestly.
Two of my kids insisted on being something different and I just didn't have time to make their costumes, you'll know who, when you see the pictures.    Actually, Rapunzel tried to get me to make hers, but my rotary cutter was nowhere to be found (and my confidence to make a beautiful princess dress has yet to be found too).
The tutorial was easy to follow, I opted to sew on all the features, so they would stand the test of time.  If you ever make these, you can hot glue them (I still haven't even unpacked mine actually).  I only sewed the front and back together at the shoulders, so it was kind of like a smock- but it was easy to get in and out of- it will make what I have to show you tomorrow all the more easy- so stay tuned for how to repurpose these costumes into something useful for your kids (homemade Christmas idea).

This was my kids' first real Halloween in the US and it was a total blast!

Dragonfly Designs

Wednesday, September 21, 2011

Busy Partying: Super Mario Brothers Birthday Party #3

For some reason, this year, we have moved within days of my kids' birthdays.  There was a birthday in August, only 4 days before we made our final big move.  There was cake, oh lots of cake, but not so much in the area of games, decor, and favors.  There were ideas, but no time to implement them, so you will just be seeing lots and lots of sweets here.  Oh, and this birthday t-shirt-  a birthday in our house just isn't complete without a birthday outfit!
For this shirt, I found some fabric printer paper at a JoAnn's Fabrics going out of business by my parent's house.  I skeptically bought it, but it turned out to be AWESOME!  Only thing, if you don't follow the directions and handwash, the ink will fade drastically after several washings (learn from my mistake).  It was soo easy to use, just create the image (I even downloaded super mario font), print it out, cut it out, and sew it on to the t-shirt - I used interfacing on the inside of the t-shirt to help feed it through my sewing machine easier.

For decor, I bought a pack of white stars (I was going to decorate them like the power up stars)- the kids took care of this for me:
I made this cupcake stand, it's my first one, so it came out a little sketchy, but I can't wait to make more.  I found the tutorial online here at Annie's Eats.  All you need is a glue gun, some soup cans, pretty paper, ribbon, and 3 different sizes of styrofoam circles.  You can customize one of these for any occasion!
I cut Mario pictures off a box of trading cards we had and glued them to the stand.

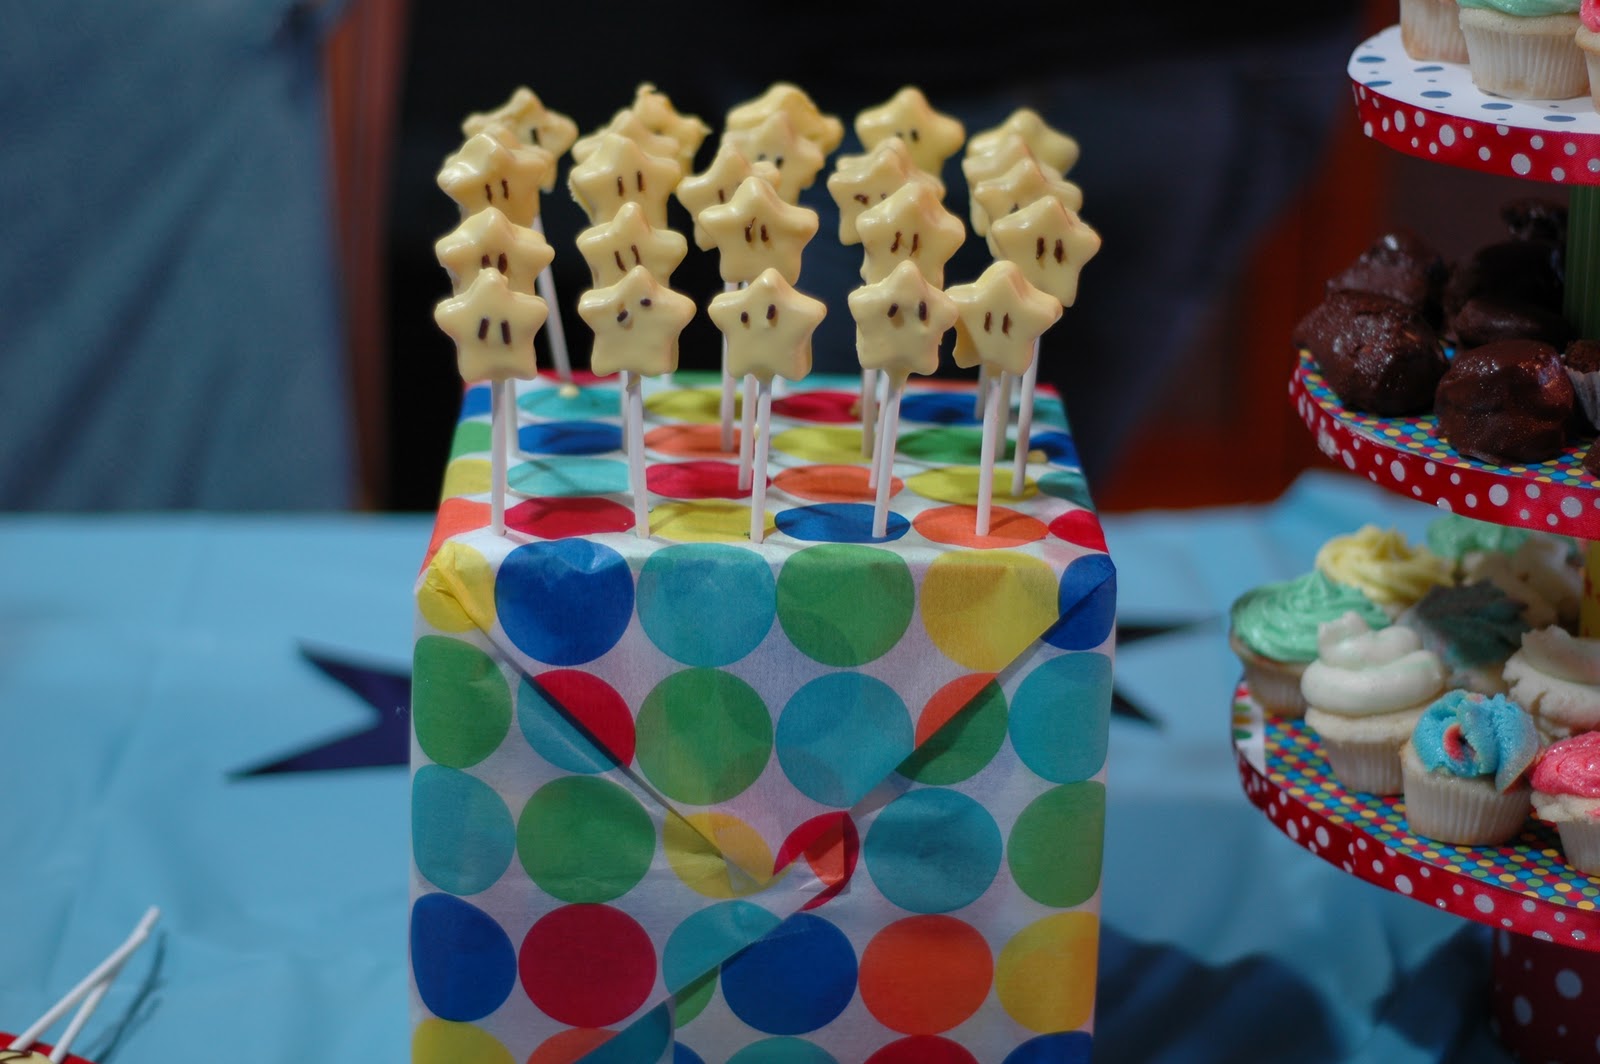
For the cake, the main thing I wanted to do was make these power up star cake pops- yes Bakerella, I did it!  Victory is mine (with cake pop making).  I made a vanilla cake, homemade vanilla icing, crumbled up the cake, mixed in the frosting, spread it out in a big cookie sheet, froze it, then used mini star cookie cutters to cut out the star shapes.  I froze them some more, then I dipped the sticks in a bit of melted chocolate, put them in the stars, and put them back in the freezer to anchor them in.  I dipped the stars in melted yellow chocolate, my key to success:  I added a few teaspoons of oil to the melted chocolate to make it smoother.  I used chocolate sprinkles for the eyes- these were quite a hit!
For the cupcakes, I used my new favorite vanilla bean icing and vanilla bean cake recipe (to follow soon)- oh these are just so yummy, no one can eat just one- no one!  I used rainbow colors because Super Mario Bros. is such a colorful game!
For the chocolate you saw in the cupcake stand, homemade yodels (what's a yodel?, stay tuned for a future post on those too)- you'll never buy store bought again! Not super mario themed, but a request from the birthday boy!
 Who doesn't love a birthday filled with lots of cakes and sweets?  What a SUPER day!

Wednesday, March 2, 2011

Super Mario Brothers Birthday Party 2- Luigi

Luckily for me, another one of my sons wanted a Super Mario Brothers birthday party, and even more luckily, he likes Luigi better than Mario.  For his birthday, of course, I made him a shirt (fire Mario is lighting the 6 candles):
The back:

The party was the night before we were leaving Japan, so it was a quickie and wasn't as elaborate as it would have been if we were not moving the next day.  For the table, I used my giant roll of paper, and then I cut out printouts of Mario, Luigi, Toad, and Princess Peach and scattered them about.  It turns out, the kids had fun picking which ones they wanted to have near them while they ate their cake.  I found the images for the printouts by googling the character names and then I right clicked and saved them as clipart. I put them in a word document multiple times and made them each about 2 inches tall.

They made great cupcake picks too:
For napkins, I bought plain yellow ones (much cheaper than design ones) at Target and using my sharpie, drew question marks on them, like hint boxes:
I bought plain green plates and bowls too, since Luigi wears green.

I had my brother and his wife, who are much more artistic than me, draw a Luigi on a piece of cardboard and we cut out the face, so the kids could "pose" as Luigi:


And for the crazy part of the party, if you didn't know, Luigi is a plumber.  I cannot stand that my kids are always saying "poo" and "toilet", so I thought since Luigi is a plumber, I'd take the party to a different level than I normally would.  I decided to go for the plumber/toilet aspect of Luigi and for a game, we played pin the poo in the toilet:
Yes, unkachan is an actual cartoony character in Japan, so I googled unkachan and downloaded some pics, cut them out, and we were good to go.

I even found some unkachan lollipops at our grocery store for party favors (don't you just love Japan and it's kawaii factor?):
I wanted to do so much more, but there just wasn't time, if you want to have a plumber Super Mario party, I'm sure the possibilities are endless.  The game got lots of giggles and my kids didn't take it overboard, so I was happy.

For the cake for our family, I had strict instructions it had to be a Luigi face.  Using the images I found for the wooden dolls I painted the kids for Christmas, here's what I came up with:

The cake was a double layer chocolate chip cookie dough, turns out the icing for that cake is the perfect flesh tone (in case you ever need to make a face cake ;)  I made the whole amount listed on the link, it was enough to make 24 mini cupcakes (which I'd recommend with this recipe since they are rich) and 2 shallow 9" round cakes.  I smeared the dough filling in between the two round cakes and used cone filling method to fill the mini cupcakes.  Yum yum yum.

Here is a link to the other Super Mario party we had last summer.

Saturday, January 29, 2011

Travel Felt Play Mat for Super Mario

So, I couldn't just work on one travel play mat, given that I have four kids.  As I was making Hazel's Kittyland, I saw poor little Addison playing with the homemade Super Mario dolls I made him for Christmas.  Those dolls that I spent hours painting, only to have the kids store them in cheap ziploc bags.  Surely,  I care more about my hard work, than to let it get ruined in a ziploc bag.  Of course, I always have Mario fabric on hand for crazy ideas like this.  

I wasn't sure exactly what I was going to do.  I let the kids choose a background felt color and at the time, I had some precut felt shapes on the table that I bought at the 100 yen store.  Next thing I knew, the two older boys were arranging them as they saw fit on their felt backgrounds.  I went with it, and just pinned them and sewed them into place.  Then, I sewed a piece of Mario fabric on the bottom edge of the felt, and sewed lines down to provide little spots to slide the dolls into.

All snug in their beds:


I cut out a thin piece of quilt batting and  a matching Mario fabric the same size as the felt and sewed them together like the Kittyland.  I flipped it around, stitched around the edges, and sewed on a button for easy closing when it's rolled up (of course it HAD to be a star):

These I actually finished before our house hunting trip and let me tell you- WOW!  They played with these on the plane, they were perfect sized for the tray.  They played with them in the car and at the hotel.  

They fly, they flip, they jump, they sing, they get bad guys:

Wednesday, January 5, 2011

Super Mario Brothers Quilt

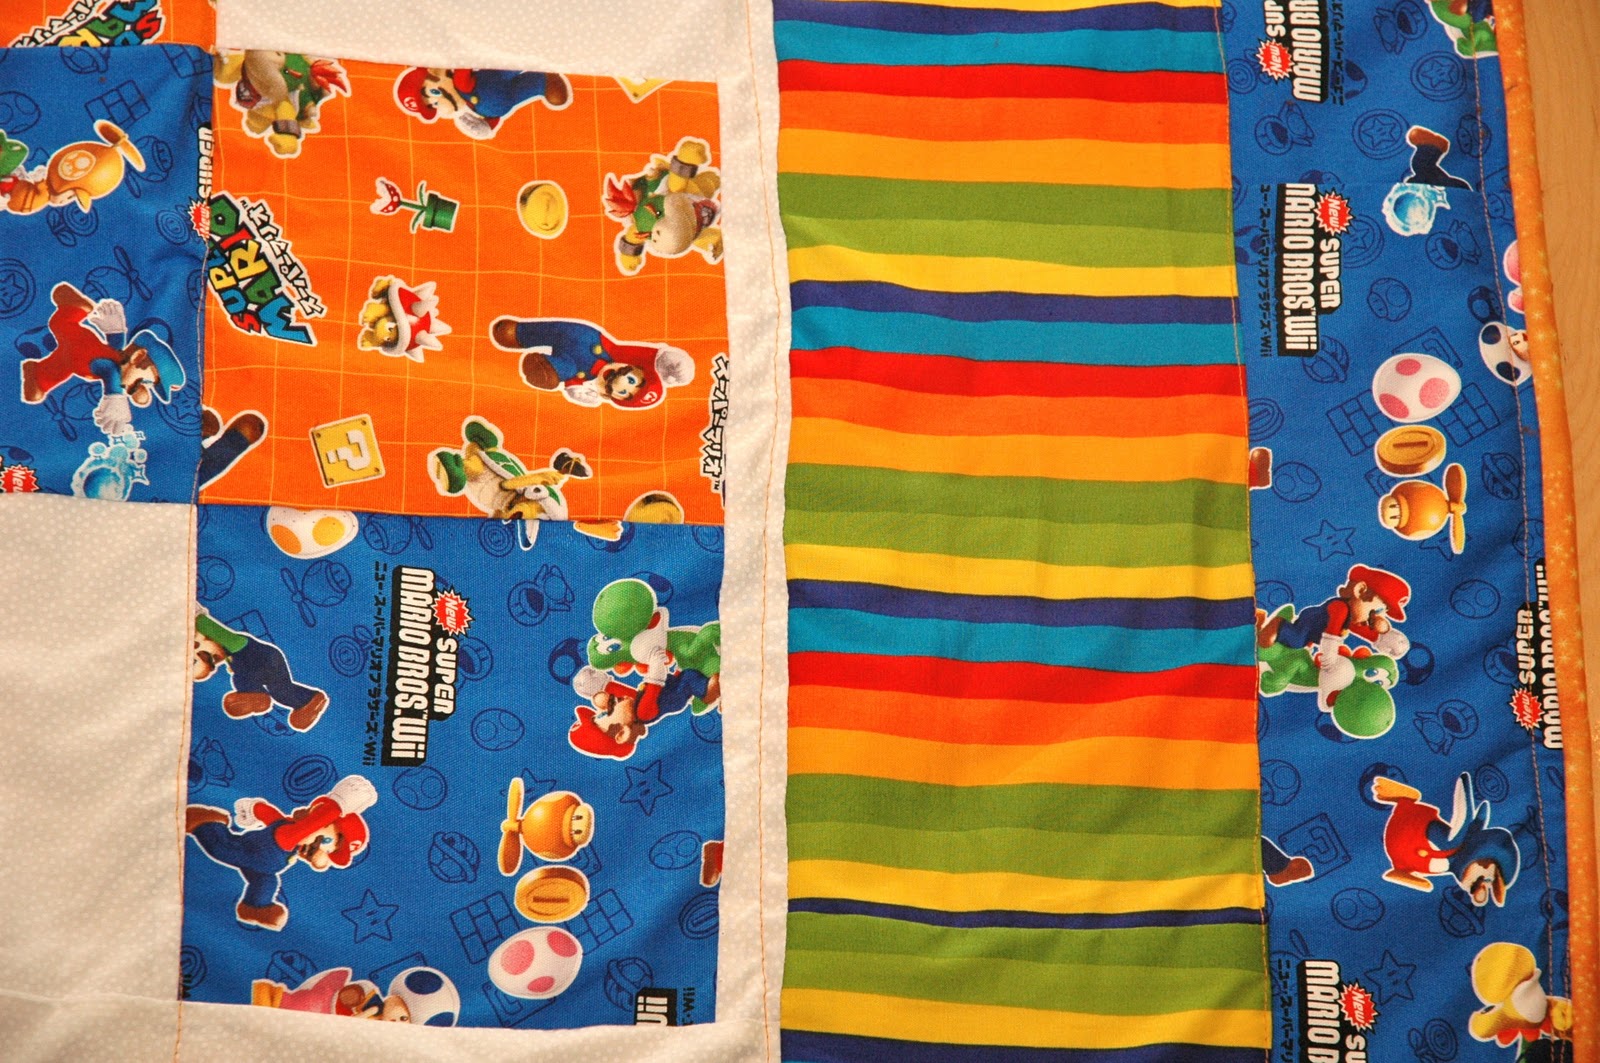
You know by now my kids are OBSESSED with Super Mario Brothers.  My oldest son has been begging me to make him a new quilt with a fuzzy back like his brothers.  A few months ago, we found some Super Mario fabric here and it was orange, his favorite color.  The plan was for me to cut out the squares and teach him how to sew while making the blanket himself.  However, the time never presented itself, so I decided to surprise him with it as a Christmas gift.  Unfortunately, the outer edge fabric (striped) didn't arrive until Christmas afternoon (yes, we get mail here on Christmas).  So, I finally finished it last night and had it on his bed waiting when he got back from skiing.

He was so surprised and told me to thank me he's going to "try" to be good every single day now.

Of course, he asked me to get more fabric because Addison was quite sad that he didn't have a matching one on his bed.  I made him a batman backed one a few years ago, so I was hoping he wouldn't want one.  They also asked for matching pillowcases. If only there were 24 waking hours in a day....

The front:

The fuzzy back:

Close up- kind of makes you see how they like this so much, the characters are so fun and colorful, I almost want one for me ;)

Tuesday, December 28, 2010

Handpainted Super Mario Dolls

You have to know by now that my kids are obsessed with Mario Brothers.  Here is my oldest son's Christmas list for this year:
As you can see, he's not so good with the penmanship with non-lined paper.  At least he warned Santa:

They already have stuffed Mario and Luigi dolls and the only one I'd seen besides them that was on the list was Fire Mario.  It was either make the dolls or make a dress-up set for their stuffed Mario and Luigi's.  Seeing that I had to start working on this with only 2 weeks before Christmas, I opted to make the dolls.

Last summer, I bought these wooden peg dolls from this etsy shop, gemmielou.  I was going to use them to paint knights when we studied castles in the spring.  However, recently, I saw a post on Filth Wizardry where she painted Star Wars characters for her daughter's birthday (hers are so awesome, it really will make you realize how little artistic talent I have- I only hope to be as good as my brother or sister someday). I went to the the sound of design flickr page she got inspired by for the design and there was a set of "cartooned" Mario characters.  I used that for most of them, but had to make up a few, namely the superhero and rockstar ones.
 

From left to right, for the Luigis (right to left for the Marios), cat, fire, ice, propeller, rockstar, superhero, and regular.  I didn't do the Mega.  

To paint the dolls, I used my kids washable crayola poster paint.  I lightly sketched some of the stuff on with pencil.  Everything was done with one of the paintbrushes that came with a Crayola watercolor set. I invested in an 8 pack of colored sharpies this summer, so I used those for some very fine details, like the streaks in the rockstars hair, tattoos on their sidearms, and chesthair.  Once the paint was dry, I brushed each with a hefty coating of ModPodge (holy awesomeness!!!).  It goes on kind of cloudy white, but when it dries, they are nice and glossy and keeps the paint from chipping.  WOW!  I've been afraid to open mine for months, not knowing what to expect.  Be prepared for me to be using a lot of this stuff now.  The only thing is since I used washable paint, the more I brushed, the more I risked dissolving the paint on the characters (see the bottom right of rockstar Luigi).

It took me about four hours to do in total, but it was well worth it.  I hope my kids have many hours of creative, imaginative Mario play with these dolls!


Friday, November 5, 2010

Halloween 2010

This is a little late, but Happy Halloween!


For my kids' entire trick or treating career, we have been in Japan, where I have never worried about them getting a razor blade or poison in their candy.  It is a highly organized event that takes place in our neighborhood, even on a scheduled night (mainly the weekend so the dads are at home to help dole out candy or take the kids around to collect it).  Over the years, many of us have befriended local Japanese families or kids at school, who have all been delighted to join in on the fun, as it is not customary to trick or treat in Japan.  What a fun experience for those kids especially to get to participate in this event.  In our neighborhood, we are at an all time low of kids, I believe there are only 30 kids left (used to be over 60), but I ended up handing out candy to over 80 kids, that's how many extras jumped at the chance to join in.

The families participating that did not live here set up to give out candy at one of the vacant houses.  It's funny, because by now, I can tell whether my child got their candy from a foreign or Japanese family.  Most foreigners give out chocolate (I even had some resee's in mine and one woman came back super duper excited asking me if I found them in Japan- nope, my suitcase).   Most Japanese give out hard candy, lollipops, or something gummy, oftentimes in a cute little Halloween bag with several pieces in it.  Last year, thankfully not this year, there were open items in the bags, such as 3 animal crackers, 2 marshmallows, and a hard candy.  Although, I was sure they were not poisoned and as much as I trust Japanese people, the idea of an unsealed item on Halloween does not sit well and into the trash they went.

It sure will be culture shock to move back home and have to guess which houses will be handing out candy and which ones won't.  Not to mention, getting my husband home from work on time to help out since it won't be scheduled only on a non-work night ;)

This Halloween, we did not have our grandiose party like usual because I just didn't have the energy to put up and clean up all the decorations.  I will say however, with the Pumpkin Parade (trick or treating in the classrooms) the kids did at school and our neighborhood trick or treating, it was still a very "sweet" Halloween. I did however, save energy to make the kids' costumes.  Since I have noticed a lot of people looking at the Super Mario birthday party post, I thought I'd write about how I made the Mario and Luigi costumes that the older boys wore.

I bought the hats off Amazon.com (planned ahead and had my mom mail Luigi's, since Mario's was leftover from the bday in August).  I used white craft tape, cut out a circle and with a sharpie drew the letter on the circle.

The mustaches' were from brown felt.  Originally I stuck them on with double sided tape, but realized it wouldn't go the distance with these busy little people, so I took bracelet making elastic (small thin round elastic) and painted it with peach colored paint.  I sewed it to the mustache and even though you could see the elastic, no Super character complained.  The only complaint was that I made them dark brown, not black- can't win!

Even the non-Super characters had to have one, who would have thought mustaches could be so popular?


I found the white gloves in the cleaning section of the 100 yen store (dollar store here).

I had nowhere to find overalls here and no where to look for a store bought Mario or Luigi costume.  First, I bought a yard of denim fabric, I tried to get a wash that I knew would closely match a pair of their jeans.  I decided to make a faux overall top and pair it with jeans to make it look like overalls.  Luckily, we had a red and a green long sleeved top already.  I laid the shirts down on the fabric, and cut two pieces of the denim fabric the width of the shirts (I added 1/4 inch on both sides for a seam when I sewed them together).   As for the length, I made sure to leave the bottom length of the fabric about 3 inches longer than the shirts (so it would cover the button and top of the pockets of their jeans) and I cut across the top so it was about 1 inch under their armpits.

For the front piece, I angled the sides in to look like the bib of the overall:


For the back piece, I cut a small v in the middle and then angled around the sides to make it look like where the straps meet on the back of the overalls:


I sewed both the front and back together with the fabric facing (no serging, no edge finishing).  I turned them right side out and sewed two buttons on the front of the bib.   I cut out straps to be the width of the top of the back above the v, where they started to form.  I sewed on the straps, I made them long and then had the boys try the whole thing on, brought the strap over their shoulder and put velcro tape on the front of the strap and the back of the bib (behind the buttons) and pressed the strap closed.   This whole thing with cutting, buttons, and all took an hour for both kids' costumes.


I was quite paranoid because Nathaniel wanted to look so much like Mario that everyone would think he was the real Mario.  The "fake overalls" passed the test and he really thought he was Mario.  The costume is actually still sitting on his desk today.

To top it all off, I even downloaded some Super Mario remix songs and made a CD for the kids to dance to on Halloween night, let's just say they were more hyped up for that than if I let them eat their whole bucket of candy in one sitting.

I have had a lot of questions about Dokinchan (Hazel's costume)- that explanation is coming soon, especially since you will be seeing a LOT of that character for her upcoming birthday.

Tuesday, October 5, 2010

Super Mario has his eyes on you!

For our first art project of the year, I had Nathaniel do a self portrait.  It took quite a few days for us to finish the project, but in the end, I think he was happy with the result.


I got the idea to use a black sharpie to outline the finished product, here at Deep Space Sparkle blog.

I was worried that it was going to be like pulling teeth everytime we did an art project.  Surprisingly, when I decided to do our second project a few days later, which was an extension of the self portrait, he was very excited.  That was because I told him he could do a portrait of whatever he wanted, but make it kind of Halloween-ish.  Do you know what he decided to do a portrait of??  SUPER MARIO, of course.

I didn't have to do any poking or prodding to get this project rolling.  The orange outfit of course, is his pumpkin disguise, and the extension on the self portrait was that we made the eyes movable so they can follow you- SPOOKY!  I found the idea here at That artist woman's blog.


Is he looking right?


Is he looking left?

The kids are having fun moving his eyes around, I can see that we will be doing this art project again!