Saturday, July 31, 2010

Kool-aid Sidewalk Paint


Since being in the US, I have been seeing lots of new things in the store, and one of them was sidewalk paint. I knew I had seen a few posts online about how to make your own. It was quite simple actually, just cornstarch, water, and dye. I was not too happy about the thought of my kids getting food coloring all over themselves, even if it were just a few drops in the paint. I remembered reading about someone using the concentrated Kool-aid packets to color homemade play stuff for their kids, so that's what we tried. Results: fantastic!

I googled homemade sidewalk paint and looked at a few places and basically, the recipe is to add water to your cornstarch until you reach desired consistency. Here's what I did. After cleaning out my parent's cupboards, I found some trays from some dessert shells, I thought they'd be perfect for small amounts and lots of colors of paint. First, I filled each well half way with cornstarch:


Then, I sprinkled about half the packet of the Kool-aid in each one, and mixed it into the dry cornstarch. For non-primary colors, I used about 1/4 of the packet of both colors that I'd need to combine to make that color:


Next, I took the trays outside to add the water (less mess in the house). I added water to each well so that before mixing it was just below the top line of the well. This was a bit of a mistake because the mixing caused some to splash over the sides into the other wells. Also, I recommend bigger wells (like normal cupcake sized ones)- because it was hard to mix, I had to use the bottom end of a kids' paintbrush, so my hand was hurting and it took a while to get each one done.


As for consistency, I'd recommend more on the soupy side than pudding consistency, so if you mix and it's too thick, add more water. The soupier ones seemed to spread better on the pavement. When dried, no matter how thick the paint was, they all looked the same and it looked as though we had used chalk. Also, fatter paint brushes would be easier to use for the kids.

The paints smelled delicious, in fact, at the beginning, there was more smelling than painting.


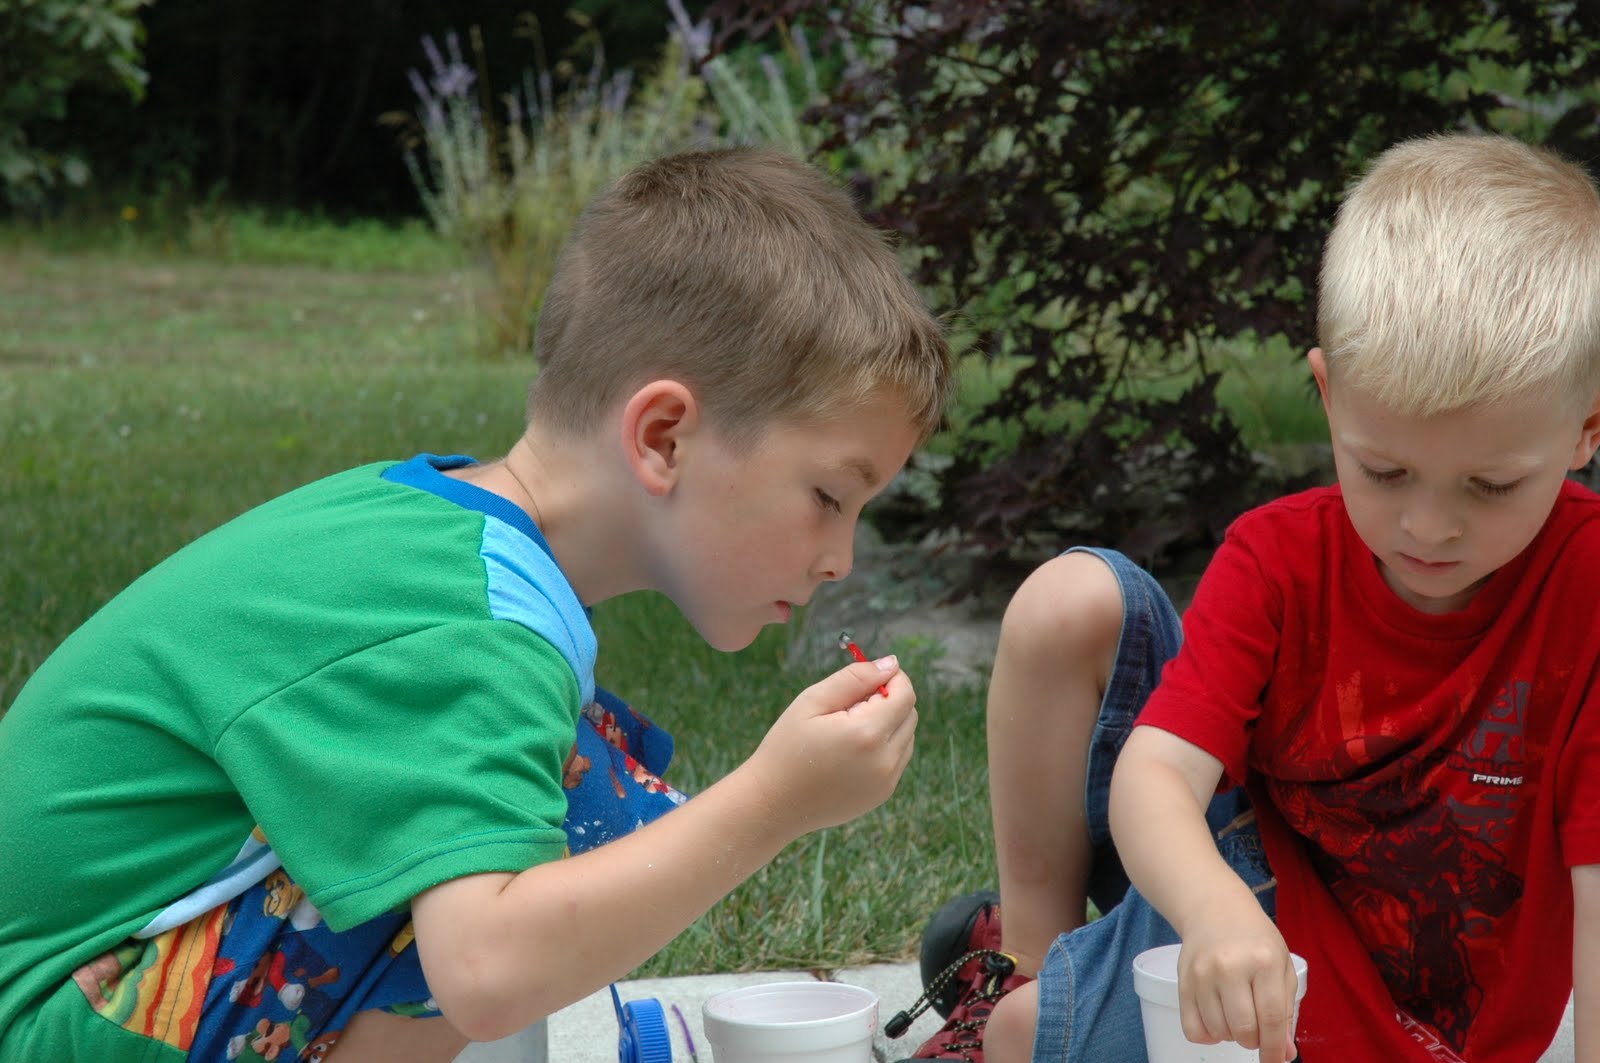
Here they are painting away:


The next day, the paints were a bit dried out, I added more water and they were as good as new. We have had them lying around for about 2 weeks now, and you can still rejuvenate them.

Friday, July 23, 2010

Hand painted custom T-shirts


I was reading a blog, Skip to My Lou, a while ago and saw an idea for batik painting for kids on fabric, this idea originated from That Artist Woman- great site by the way. Of course, I immediately knew this would be a perfect idea for the kids to make their own t-shirts. Have you seen how much a professional t-shirt costs with your child's name on it? It's quite expensive- and they grow out of it after a year or two. For this project, I bought the galaxy glitter glue by Elmer's (at JoAnn Fabric), acrylic craft paint (at Walmart), and a few 5 packs of Hanes' white cotton t-shirts. All together, the cost for about 10 shirts was still less than one custom made store bought shirt and my kids had so much fun doing this with their cousins and they LOVE to wear their shirts!

First we used the glue to draw our design on the t-shirts (normally I would let the kids do this, but they were particularly grouchy that day, so my sister and I did all the artwork), these sat overnight for the glue to dry:


On the day we were painting, first we added a blob of each paint to a paper plate:


Then we added some water to dilute the color slightly, this makes more of a tie dye effect and makes it easier to paint on:


Then I put a piece of cardboard under the wax paper in each shirt (to give a sturdier surface for painting, and to try to keep the paint from getting on to the back of the shirt), and we started painting (warning: this will stain your kids' clothes, so put on play clothes for this activity:


We let them dry on the clothes line in the sun for about 30 minutes, then removed the cardboard and waxed paper. Then let them dry more about 3 hours. Finally, we rinsed the t-shirts in hot water in the bath tub. The heat of the water helped dissolve the glue, and I actually used my loofah to scrub the remaining glue off (it did not affect the painted areas at all)- the paint we saw floating in the water was the paint that had dried to the top of the glue.

I washed and dried them and look at the results:


And yes, he thought you were supposed to paint between the glue- so it might be good
staying between the lines practice for young children. I tried to show him how to do it on the stem of the 7, and I haven't heard the end of how I ruined his shirt and he is making another one by himself- LOL!!!! Oh and the red drip on the 7 is ice cream.

Sunday, July 18, 2010

Triple chocolate cupcakes


The advantage of having a big family is that there are lots of birthdays and lots of opportunities to try new flavors of cake. Today is my husband's birthday and he requested chocolate cupcakes, which was perfect because my Cook's Illustrated Magazine (the same one with the waffle recipe), had a recipe for Ultimate Chocolate Cupcakes. I was actually about to make them last week when he made the request, so I decided to wait. It was DEFINATELY worth the wait!

(adapted from Cook's Illustrated May and June 2010 issue- I doubled their recipe)

Preheat oven to 350'

Cupcakes:

6 oz. bittersweet chocolate, finely chopped
2/3 cup Hersey's cocoa
1 1/2 cup hot coffee ( I used decaf)
1 1/2 cup flour
1 1/2 cup sugar
1 tsp baking soda
1 tsp salt
2/3 cup vegetable oil
4 eggs
4 tsp white vinegar
2 tsp vanilla

Ganache filling:

4 oz. bittersweet chocolate, finely chopped (I used half bittersweet, half semi-sweet)
1/2 cup heavy cream
2 TBSP confectioner's sugar

White chocolate swiss merengue buttercream icing:

2 egg whites
1/3 cup sugar
6 oz. white chocolate chips
12 TBSP butter (1 1/2 sticks)
1 tsp vanilla

For the cupcakes, mix cocoa, chocolate, and hot coffee with whisk. Set in fridge for about 20 min. to cool to room temperature. While this is in the fridge, mix together flour, sugar, salt, and baking soda and set aside.

Start making the ganache filling: mix all ingredients, put in microwave for about 30 seconds, then stir with whisk to blend- should be warm to touch, if not, microwave for about 15 more seconds, blend again, put in fridge to cool- for no more than 30 minutes.

Now, remove the coffee/chocolate from fridge, put in bowl of mixer. Add the oil, eggs, vinegar, and vanilla one at a time and mix well with whisk attachment. Add the flour mixture slowly until blended, scrape sides to be sure everything is mixed.

Fill muffin cups about 2/3 full with cake batter. I used both mini and large muffin cups, however, I think this would be better with large only because the ganache overflowed out of the minicups- see photo below. (They still tasted good, just sort of hollowed out- but I filled them with icing to make up ;)


Using a teaspoon, drop one scoop of ganache filling onto each filled muffin cup- 1/2 scoop for the minis. Bake approx. 12 minutes for the minis and 17-19 minutes for the large cupcakes.

Let cool completely before frosting.

For the frosting, put egg whites and sugar in a double boiler (I just put water in a large pan and put the ingredients in a smaller pan set in the large pan). Use whisk and mix until it reaches 150'. Put the egg/sugar mix into the stand mixer with the whisk attachement and mix on medium high about 3-5 minutes until it is cooled and is white with peaks, like whipped cream. Slowly add the butter, 1 TBSP at a time. Melt the white chocolate in the microwave (30 sec, then mix, 30 sec then mix)- until it is smooth. Let sit until cooled. Once all butter is added, switch to the paddle attachment, add the melted white chocolate and vanilla, beat on high about 5 minutes until the mixture thickens like pudding. You are ready to frost and enjoy. I had to use a ziploc baggie with the corner cut off to do my icing, my parents don't have a decorator :(

ENJOY!

Wednesday, July 7, 2010

Homemade Buttermilk waffles


I was going through my two HUGE boxes of mail last weekend (these have been building up since January when I was last in the US). I found my two new Cook's Illustrated magazines and as luck would have it, there was a recipe for Buttermilk Waffles in the May/June 2010 issue. I LOVE waffles and there's just something about the ones from a box mix that I don't like. I am always looking for a good waffle recipe. Even more as luck would have it, I am here in the US while reading the recipe so I can grab all the ingredients to bring back to Japan to make them over and over again.

Ingredients:
2 cups Flour
1 TBSP sugar
3/4 tsp salt
1/2 cup dried buttermilk powder
1/2 tsp baking soda
1/2 cup sour cream
2 large eggs
1 tsp vanilla
1/4 cup oil
1 1/4 cup unflavored seltzer water

Whisk together flour, sugar, salt, buttermilk powder, and baking soda in large bowl. In separate bowl, mix together sour cream, eggs, vanilla, and oil. Slowly stire seltzer into the wet ingredients until combined. Make a small hole in the center of the dry ingredients and pour the wet ingredients in. Stir this until just combined, it will be lumpy with clumps/streaks of flour- they will cook through in the waffle iron and you will not bite into a lump of flour.

Cook in waffle iron and serve warm.

These were definately worth making and I will be making them again!

Have you ever read a Cook's Illustrated magazine? They really explain the reasoning behind their ingredients and their methods and I have learned a lot about cooking from them. If you are afraid to cook or don't think you have the skills, I'd recommend trying one of their recipes someday, they usually don't disappoint.

Sunday, July 4, 2010

Fourth of July Flour Stencils

Happy Fourth of July! I came across this post at Pink and Green Mama and HAD to try it today!!!! This was so fun and kept the kids entertained for over an hour!

I bought the cheapest bag of flour I could find at the grocery store. Using a box cutter, I cut out 2 stars from many of the old cardboard boxes we have lying around. I had just bought 2 sand sifters that were on clearance, and well, the wheel barrow was sitting in the yard... We placed the stencils on the driveway, sifted the flour on top gently, pulled the mold back and voila:


Here's the finished product:


Here's one on grass, we kind of just stuck to the driveway because it was easier for the kids to do, especially the 2 year old.


Nathaniel wanted to write July 4 in stencils too. I cut out the 4, but not the July yet, maybe tomorrow.

After we were done with the stars, I let the kids play (throw) the flour in the backyard, what's the point of being a kid if you can't get messy?

Saturday, July 3, 2010

Grilled Pizza Friday Night


My dad was all excited about today being Friday because in Japan every Friday night we have pizza. I told him I would continue the tradition while we're here visiting and make pizza for dinner tonight. He even had the sauce frozen in portion sized bags with onions and garlic already sauteed- WOW!

I was very excited because I found the Fleischmann's Pizza Dough Yeast at the grocery store- at Christmas time, it was only available in the southern US- I bought 30 packets, can you tell how excited I was?

Given that it is about a million degrees here, not to mention, my parents have a slow electric oven, compared to our quick gas one, I decided to try out grilled pizza. I have seen it on some magazines recently while walking through bookstores, so I thought, "I could give this a shot". My uncle eats over every Friday too, and he was mentioning seeing grilled pizza on a cooking show. I made my crust as normal:

Crust:
1 packet yeast
2/3 cup very warm water
pinch sugar
2 cups flour
2 TBSP oil
1 1/2 tsp salt

Put yeast, water, sugar in bowl of mixer, let sit about 3 minutes. Add flour, oil, salt and mix until blended (use dough hook)- then knead on medium high about 5-6 minutes. I put the dough aside after mixing to rise (only about 10 minutes)- this was while I was getting other stuff ready (sauce and cheese).

This is where is gets fun and oh so easy- You just take small balls of the dough and roll them out on a slightly oiled surface, (just so the dough has a tiny bit of oil on it to keep it from sticking to the grill), mine were about 6-8 inches in diameter when rolled out. They should be flat, no crust. I brought the dough circles out to the grill, cleaned off the grates with a wire brush, sprayed on some pam, and set the grill to medium. I put the dough circles on the grill to cook, here's what they looked like:


Then, they all the sudden began to rise (after about 3-4 minutes)- and I knew it was time to flip them. See here:


At this point, I took them off the grill (you can do this on the grill if you're not worried about getting burned), put them on a plate, and with the cooked side up, added the sauce, cheese, and seasoning. I put the pizzas back on the grill (with the uncooked side down) for about 6-8 more minutes and they were ready to eat. We did not close the top of the grill while they were cooking. We just left them on there until the cheese was melting and the bottoms appeared brown.

Check this slice out from the side, the dough rose so much just sitting on top of the grill:


Here's the bottom, crispy, not oily, just GOOD:


This will become a habit in my house, it's really good, fast, and no pan to clean up! If you've never made grilled pizza before, now's the time to try, what are you waiting for?

Now, I have extra motivation to get my grill in Japan fixed when I go back home.

Friday, July 2, 2010

Wedding quilt with love

About ten years ago, I was visiting a friend in Washington state. She had a lovely quilt on her guest bed and I asked her where she got it and as it turned out, it was a gift she received for her wedding. I remember how touched I was by the fact that someone took the time to make her a gift, something that was so special, personal, and useful. Since that day, I have made many a person I know a quilt for a special occasion, whether it be a baby shower, wedding, birthday, Christmas, or just because they are special. I try to use their favorite colors, a favorite hobby, or just something I know that is going to make them smile as a basis for the design. In fact, the first one I made was for my aunt and uncle after my cousin died from leukemia- I wish I had a picture of it to show you, but I will tell you it was made with all of her favorite colors (mostly purple), and had LOADS of my own mistakes, but low and behold, it's still around and kicking in their house. Someone once asked me couldn't I just buy blankets- well, yes, I could, but they just wouldn't have the same special meaning.

My cousin got married last Friday and of course, I made a quilt for her. About two months ago, my sister told me that my cousin did not like the ugly quilt hanging up at the hall where she was having her wedding and did I think I could make something to cover it up? Could I ever! Since it was for a wedding and being hung up at a wedding, I used a heart pattern. This was a freezer paper pattern called Heart Crazies by a company called Buggy Barn(looks hard, but it's super easy- you just have to be a tiny bit organized). I have MANY other patterns by this company and I have made about four or five quilts with them and they have all come out BEAUTIFUL- it is so fun! For the colors, I used black and white (because they were part of the wedding colors)- and turquoise/aqua because my sister told me they were part of the colors in my cousin's room- which I have yet to know if they really are. At any rate, here it is from the front:


And the back:


I always like to use a big and fun print for the back and I couldn't resist this butterfly print since my cousin's mom LOVED butterflies.

Surprisingly, this is the first quilt I have made in over a year, but it has given me my quilting bug back, so be prepared to see a lot more soon.