Showing posts with label art. Show all posts

Monday, January 16, 2012

Valentine's Handprint Canvas Wallhanging

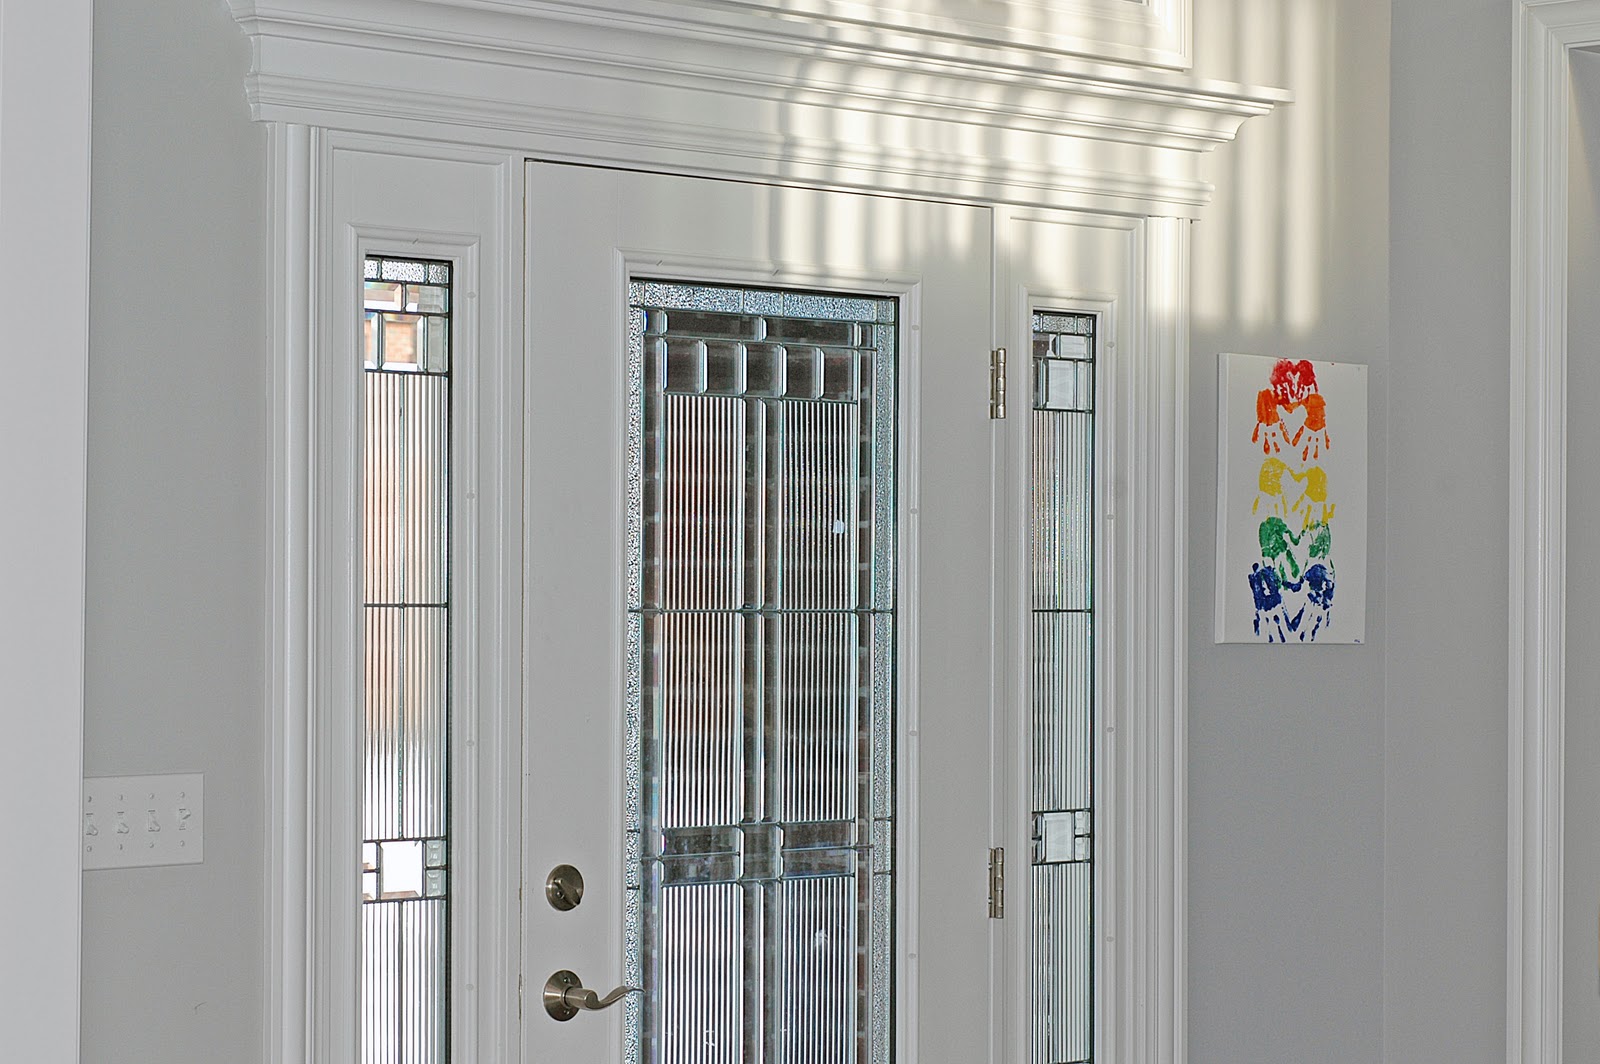
Every year I like to do a craft with a kids that involves their hand prints.  I initially bought this canvas to make a handprint Christmas tree wall hanging, but I never got around to taking it out of the bag.  My entry way is quite drab, grey paint with white trim- we are slow for hanging up decorations, so I thought a nice bright canvas would make the area more fun and inviting.

Using acrylic paints that I already had, I painted the kids' hands, one at a time and pressed them onto the canvas.  You can buy the canvas at Michael's with a 50% off coupon and it's not that expensive.  

I started at the top with the baby- holding her fingers slightly spread out and tilted her hand slightly, so that when they were both on, they'd form a heart shape between the thumb and pointer finger, when the hands are upside down.
After everyone's hand prints were on, I used my colored sharpies and wrote their names on the inside of their hearts.  I put the year in the bottom right hand corner and hung it up.  This was an easy, cheap, and quick way to add some personal touch to our new home.

I love how the color pops in my entryway, I get to look at this everytime I come down the stairs :)

Friday, July 1, 2011

Busy Creating: Hand Painted Custom Summer Fun T-shirts

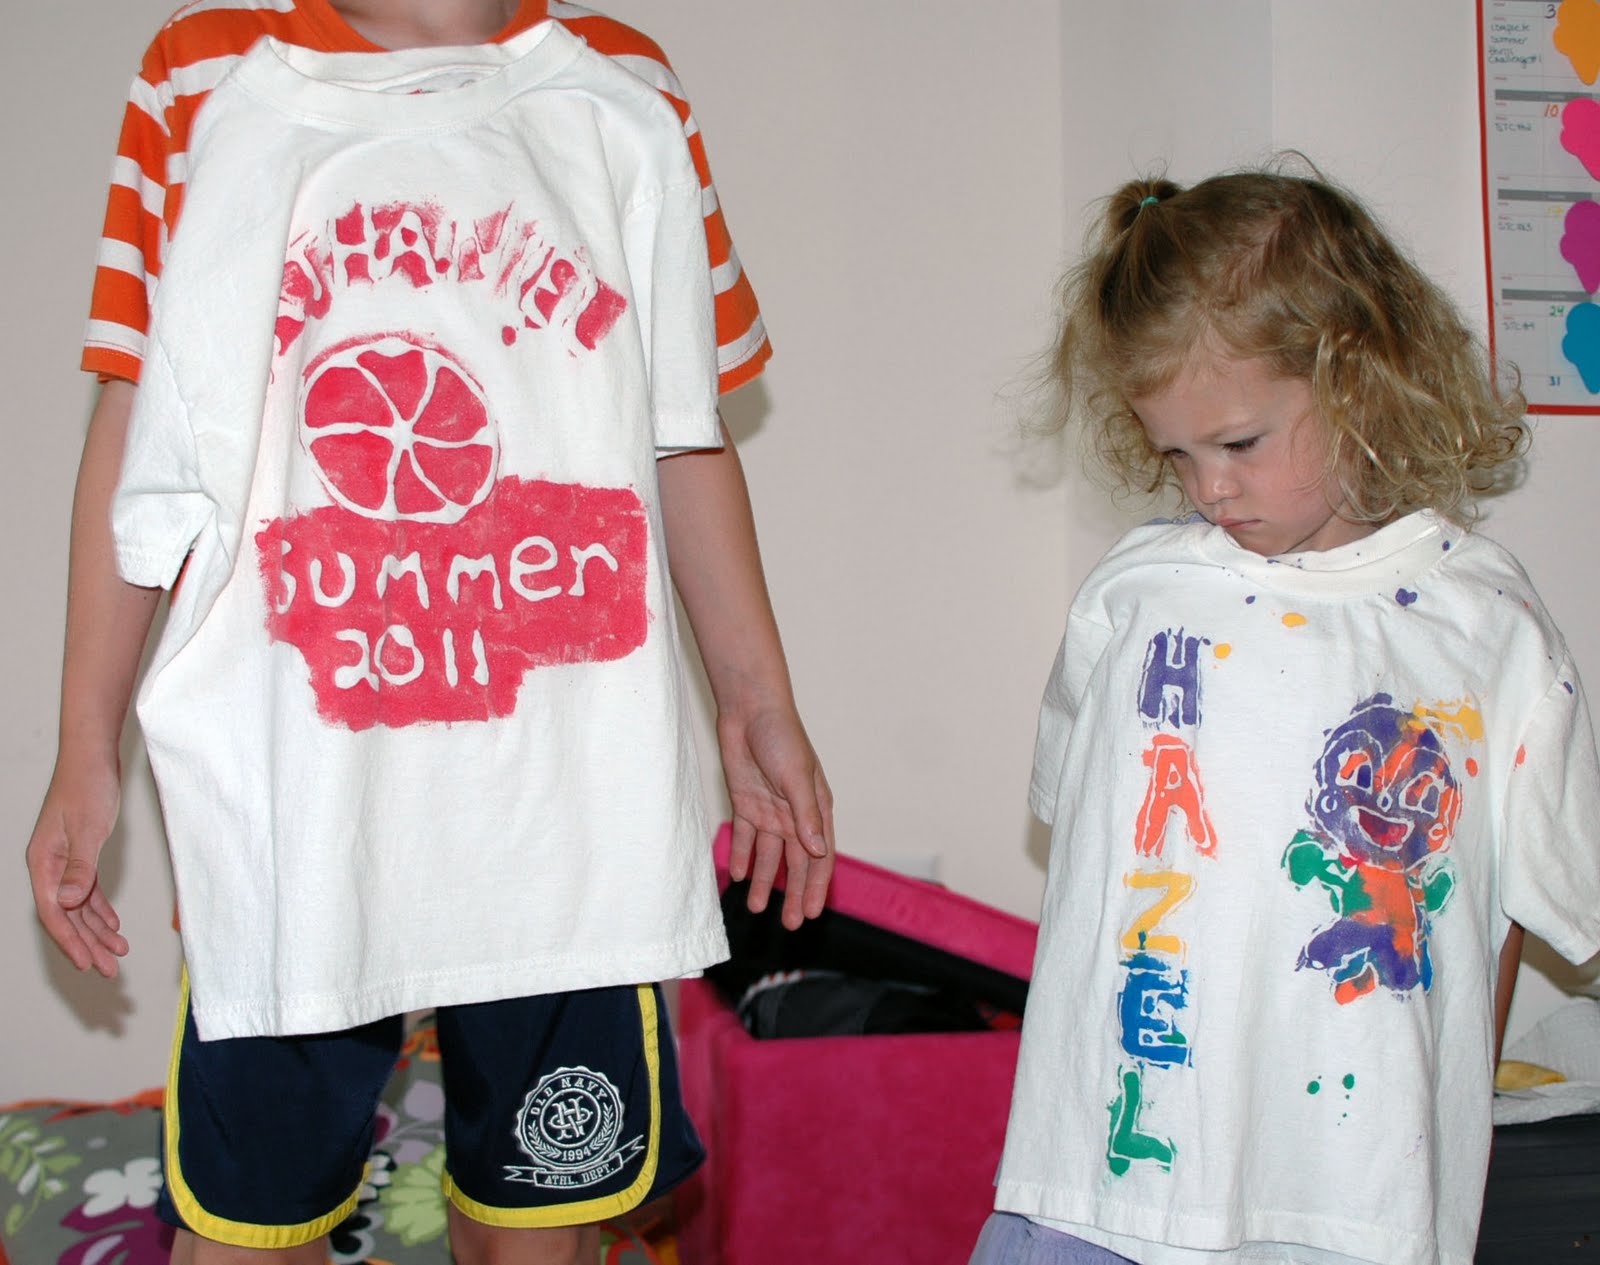
I wrote about these t-shirts last year and my kids loved it so much, I felt it deserved a revisit.  You can see my original post here.  I was inspired by a link I found on Skip to My Lou.

The t-shirts my kids made last year are one of their favorites and they wear them ALL the time!  I bought a pack of Hanes' tagless t-shirts at Target for $6 for 6 shirts.  I bought a container of Elmer's galaxy glue- the reason for this is the glue dries blue so you can see the lines you are painting over.  This time around, I did not use acrylic paint, I used Tulip Fabric Paint, that I bought at Michael's.  When you see the end results, you will know that the fabric paint is so much more brilliant, but if acrylic is all you have, it will still stay on the fabric, just gets lighter after the first wash.

First, I had my kids draw a design on a sheet of computer paper (the little ones had the option to choose a picture from a coloring book.   Then, I put the paper under the t-shirt, and using glue, traced the outline of the image onto the t-shirt.  I removed the image and placed a piece of cardboard inside the shirt between the front and back (to keep the glue from sticking to the back and so when we painted, to keep paint on the front only).  I did the glue on two of the shirts at my parent's with galactic glue, then I came out to my husband's apartment and forgot the glue.  I used Elmer's school glue for the last two and here's what one looked like:
The lines are still visible, the only thing is make sure you do this with washable glue!

Let the glue dry overnight.  Now for the fun, paint those shirts!! I put the paint in recycled applesauce and yogurt containers.  I put one paint brush in each color to avoid color mixing.  I also added about 1 TBSP water to each container, to make the paint easier to use.
Here's the same shirt from above, but painted:
Let the paint dry- we let it dry over night.  Remove cardboard insert, stick t-shirts in hot hot water - this will soften the glue so you can rub it off.  I put the t-shirts in the tub with hot water and let them sit for about an hour.  Then you use your fingers or small scrub brush and rub off all the glue lines.  You will notice lots of chips of paint (it's the paint that was on top of the glue)- and sparkles (if you used galactic glue).  I gave my son a sponge and when he took a shower, he scrubbed the bottom of the tub clean.

After a wash and dry:
We are always trying to get kids to color in the lines, with this project, it was a bit hard for some of the kids to understand that the glue lines would go away and that they should smear the paint:
I love this one:
These would be great to use as your camp shirt, or just to wear on special days like field trips.  Have fun creating your own wearable masterpieces this summer!

Tuesday, May 17, 2011

Potato Stamp Birds

Here's another idea I found on The Chocolate Muffin Tree via The Crafty Crow for our bird unit.  A simple colorful painting using potatoes as stamps.  This was easy and fun and something all ages could join in for, including my mom and I.  Painting is a great way to relieve stress.

First, cut several small pieces of corrugated cardboard of varying lengths from 2-5 inches (for the tree branches), stamp with brown:
Next, cut a potato into fourths, we used a small red potato:
Next, put out lots of colors of paint, stamp the bird bodies with the potatoes:
Use a paint brush and press down on it's side for the tail:
Use the end tip of the paint brush to add beaks, feet, and eyes.

Done by a 7 year old:
6 year old (that purple bird in the bottom corner is my favorite!):
4 year old:
3 year old:
My mom:

Tuesday, October 5, 2010

Super Mario has his eyes on you!

For our first art project of the year, I had Nathaniel do a self portrait.  It took quite a few days for us to finish the project, but in the end, I think he was happy with the result.


I got the idea to use a black sharpie to outline the finished product, here at Deep Space Sparkle blog.

I was worried that it was going to be like pulling teeth everytime we did an art project.  Surprisingly, when I decided to do our second project a few days later, which was an extension of the self portrait, he was very excited.  That was because I told him he could do a portrait of whatever he wanted, but make it kind of Halloween-ish.  Do you know what he decided to do a portrait of??  SUPER MARIO, of course.

I didn't have to do any poking or prodding to get this project rolling.  The orange outfit of course, is his pumpkin disguise, and the extension on the self portrait was that we made the eyes movable so they can follow you- SPOOKY!  I found the idea here at That artist woman's blog.


Is he looking right?


Is he looking left?

The kids are having fun moving his eyes around, I can see that we will be doing this art project again!