
The t-shirts my kids made last year are one of their favorites and they wear them ALL the time! I bought a pack of Hanes' tagless t-shirts at Target for $6 for 6 shirts. I bought a container of Elmer's galaxy glue- the reason for this is the glue dries blue so you can see the lines you are painting over. This time around, I did not use acrylic paint, I used Tulip Fabric Paint, that I bought at Michael's. When you see the end results, you will know that the fabric paint is so much more brilliant, but if acrylic is all you have, it will still stay on the fabric, just gets lighter after the first wash.
First, I had my kids draw a design on a sheet of computer paper (the little ones had the option to choose a picture from a coloring book. Then, I put the paper under the t-shirt, and using glue, traced the outline of the image onto the t-shirt. I removed the image and placed a piece of cardboard inside the shirt between the front and back (to keep the glue from sticking to the back and so when we painted, to keep paint on the front only). I did the glue on two of the shirts at my parent's with galactic glue, then I came out to my husband's apartment and forgot the glue. I used Elmer's school glue for the last two and here's what one looked like:

Let the glue dry overnight. Now for the fun, paint those shirts!! I put the paint in recycled applesauce and yogurt containers. I put one paint brush in each color to avoid color mixing. I also added about 1 TBSP water to each container, to make the paint easier to use.


After a wash and dry:

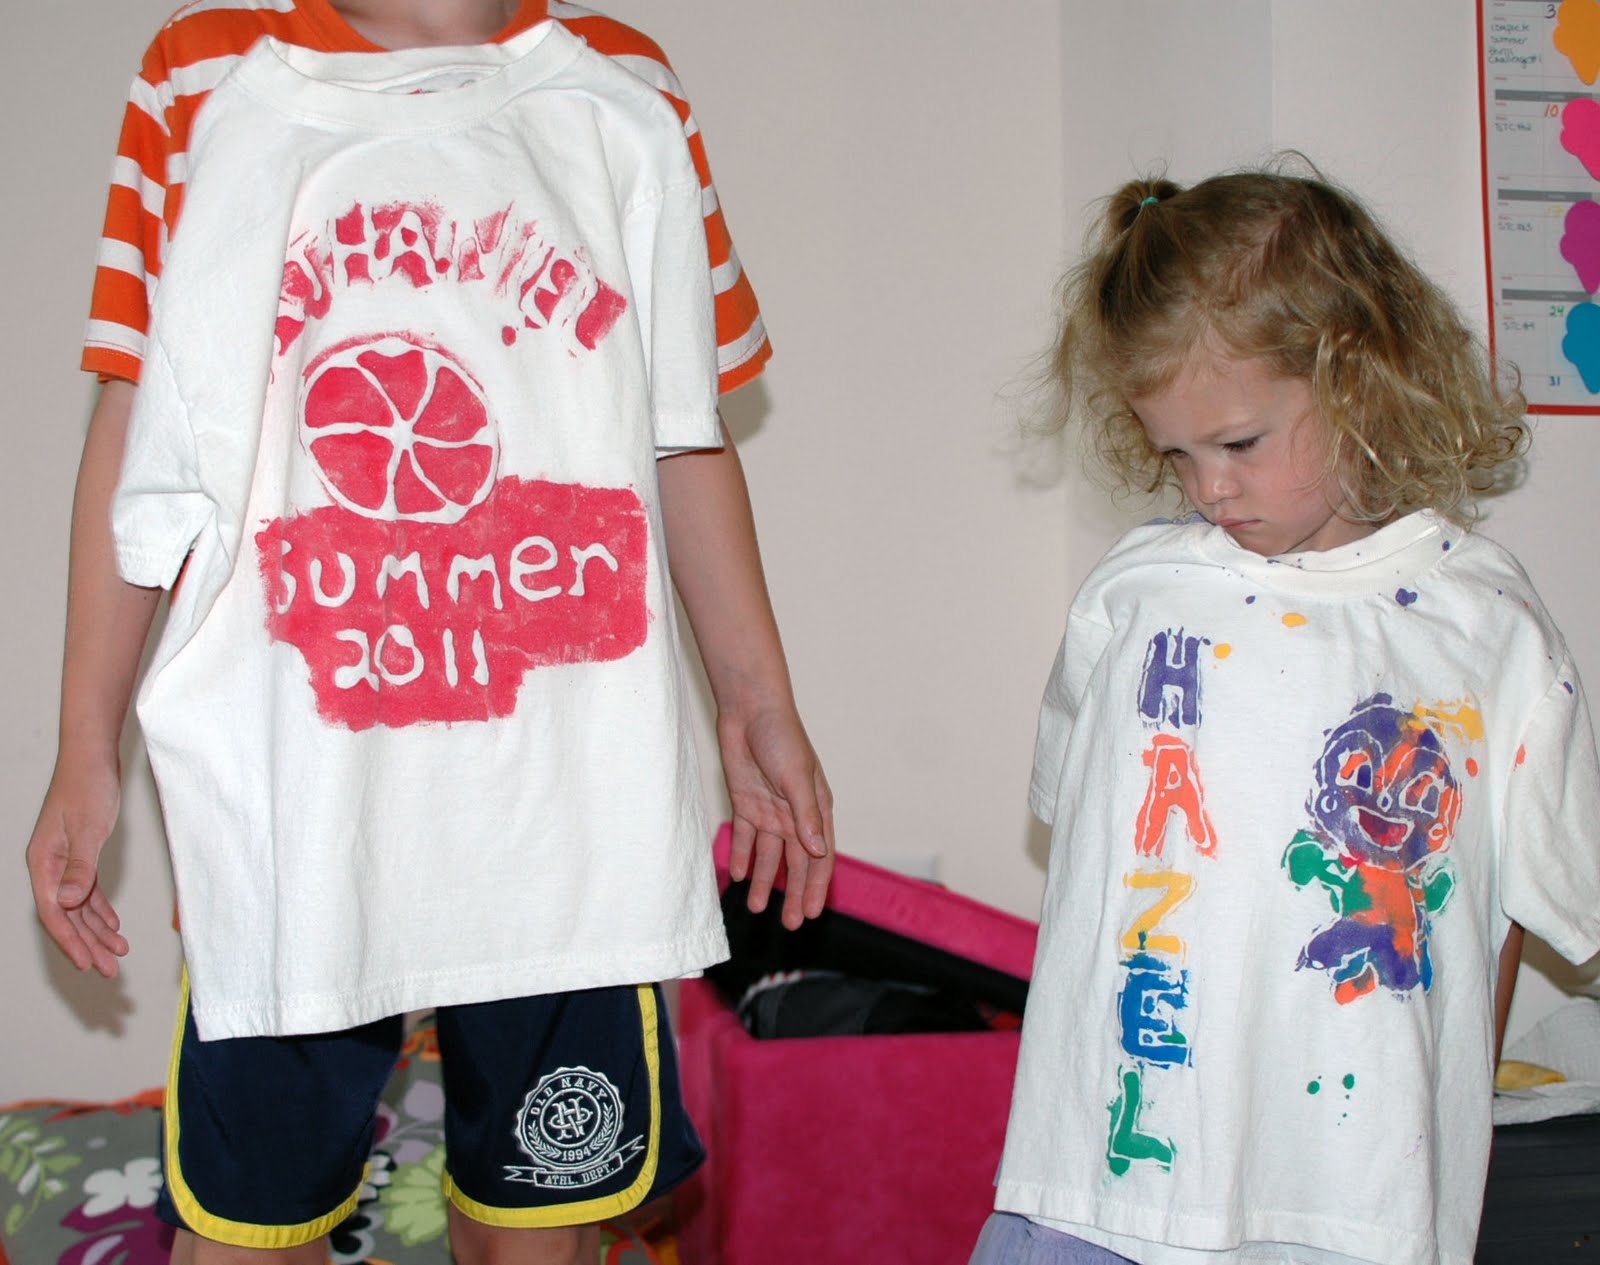

How fun is this?! I love it and your kids look so proud of their projects.
ReplyDeleteLove the flying bat/monster in the last photo : )
Fondly,
pink and green mama
MaryLea
I read your post last year and never got around to making them so I was determined to do them when I read your second post this summer! They were so easy to do though finding plain t-shirts here wasn't so easy. The kids loved them and couldn't wait to wear them toschool to show their friends, I'll think we'll make some new ones next year too!
ReplyDeleteCool post. I always read your blog. The information you have provided about t shirts is really nice. These are great had painted custom summer fun t shirts that looks good. customized t shirts are are made from high quality 100% organic cotton and with ethical manufacturing process.
ReplyDelete