
We were going to have a giant Hello Kitty shaped cake and then some Dokinchan mini cupcakes with a few Hello Kitty cakepops with the remainder of the batter. I decided to do Hello Kitty with chocolate cake (I was craving a chocolate cake with vanilla icing) and the Dokinchan cupcakes with vanilla funfetti cake (I had found a recipe for vanilla cake from scratch I was dying to try).


I'll let you guess what happened to the Hello Kitty shaped cake from this picture below:

Learn from my mistake, even with a greased/floured pan, an oil based cake from scratch will not behave and pop out properly, no matter how many nice things you say to it. Needless to say, I ended up making a LOT of Hello Kitty cakepops and boy were they time consuming- yet, worth it. Instead of using the extra cake I made for cakepops, I frosted it and turned it into a giant Dokinchan head. This is what I ended up presenting to the birthday girl for her party:

Let me just say, the vanilla cake was mmm mmm good! Box cake never again!
Here is the recipe I used, I found it on Annie's Eats and she found it in a Martha Stewart cookbook:
Vanilla Cake:
Oven: 350'
2 sticks butter (unsalted if you have it, I used salted)
1 1/2 cups all-purpose flour
1 1/2 cups cake flour
1 TBSP baking powder
1/2 tsp salt
1 3/4 cups sugar
4 eggs
2 tsp vanilla
1 1/4 cups milk
Put butter and sugar in bowl of mixer (if using kitchenaid, use paddle attachment) and cream about 4-5 minutes until blended and creamy. Scrape down sides of bowl, add eggs one at a time, scrape down sides of bowl. Add vanilla and mix in. In medium bowl, combine flours, baking powder, and salt. In alternating additions, add milk and dry ingredients until just mixed. Hazel loves sprinkles, so I decided to take the cake one step further and add in about 1/4 cup star sprinkles- this was a hit!
Grease and flour either 2 round cake pans or 1 9 x 12 rectangular pan (or 24 cupcakes). Fill each pan 1/2 way with batter. Bake round cakes about 30-35 minutes, mini cupcakes were in about 10-15 minutes.
When I made this cake, I cut the recipe in half, I only made 10 mini cupcakes and a mini round cake with the batter.
Check out my "homemade funfetti cake":

This was sooo sooo good! It almost tasted almond extracty and after 4 days, I can say the cake is still moist and not dry!
As for decorating it, I traced a Dokinchan from a coloring book and piped on different color icing, using ziploc baggies, by the time I did the mini cupcakes, I could have cared what they looked like, so I feel like they turned out a bit monkey-ish than Dokinchan (Hazel however, didn't think they looked like anything but Dokinchan, so I guess it was all good):

Vanilla Icing:
8 TBSP (1 stick) butter (room temperature)
2-3 cups confectioner's sugar
1 tsp vanilla
2-4 tsp milk
Cream together butter and 1 cup confectioner's sugar. Add in vanilla, cream together. Add in 2 tsp milk and milk. Keep alternating additions of confectioner's sugar and milk until you reach desired consistency and it meets your taste test approval.
Now for the chocolate disaster. I think in the end, these might have been everyone's favorite treat at the party, so I guess the old saying "everything happens for a reason" applies here. I have spoken about Bakerella before, when I made cupcake pops for my neighbor's birthday last February. Every once in a while I peruse her sight and feel belittled by the awesomeness of her stuff. These Hello Kitty cakepops have been on my mind since I spied them on her site. All summer, I subconsciously bought ingredients for these little guys, hoping for the chance to make them.
Now, they were labor intensive, but the end result can be worth it, but the road to get there, slightly frustrating if you are a perfectionist. I had to recruit my husband to help me with the decorating. You have to get the decorations on before the outer chocolate shell hardens and of course, you get chocolate accumulating at your fingertips, like a growing icicle.
In a nutshell, I used my food processor to grind up the cake, I put it in a bowl with a batch of homemade vanilla icing, mixed it together so it was sticky, then rolled it into ovular shaped balls and set them on waxed paper. I put the waxed paper on a cutting board and stuck it into the fridge to let the balls harden a bit (about 1 hour). Then I melted a small amount of white chocolate (microwave 30 sec stir, microwave, repeat until it was melted)- I then dipped white chocolate chips into the melted chocolate and stuck them on as the ears and let them harden. I dipped the lollipop sticks in the melted chocolate and stuck them in the balls too (I hoped the hardened chocolate would help anchor the balls to the sticks better)- Paper sticks worked way better than plastic, when coating the balls completely in the white chocolate, all the balls fell off the sticks, hence the bon bon type ones. When I did the complete coating, I used my double boiler to melt a whole bags of white chocolate wafers and I mixed them with my whisk for a smoother consistency. When it was done, I removed it from the burner, but left it over the pan with the hot water, so the chocolate wouldn't reharden as fast (this proved very helpful).
For the eyes and noses, I used mini m and m's. For the bows, two large sprinkle hearts, with a red mini m and m in the center. I could not find an edible marker so there were no whiskers. If you go to bakerella.com from this link, you will see her post, and I bow down to her because if I could only have had one come out as brilliant looking as hers, I would be ecstatic, let alone as many perfect ones as are in her picture.
Hazel helped decorate a few, check out the front row and guess which one is hers:


Candle blowing time:

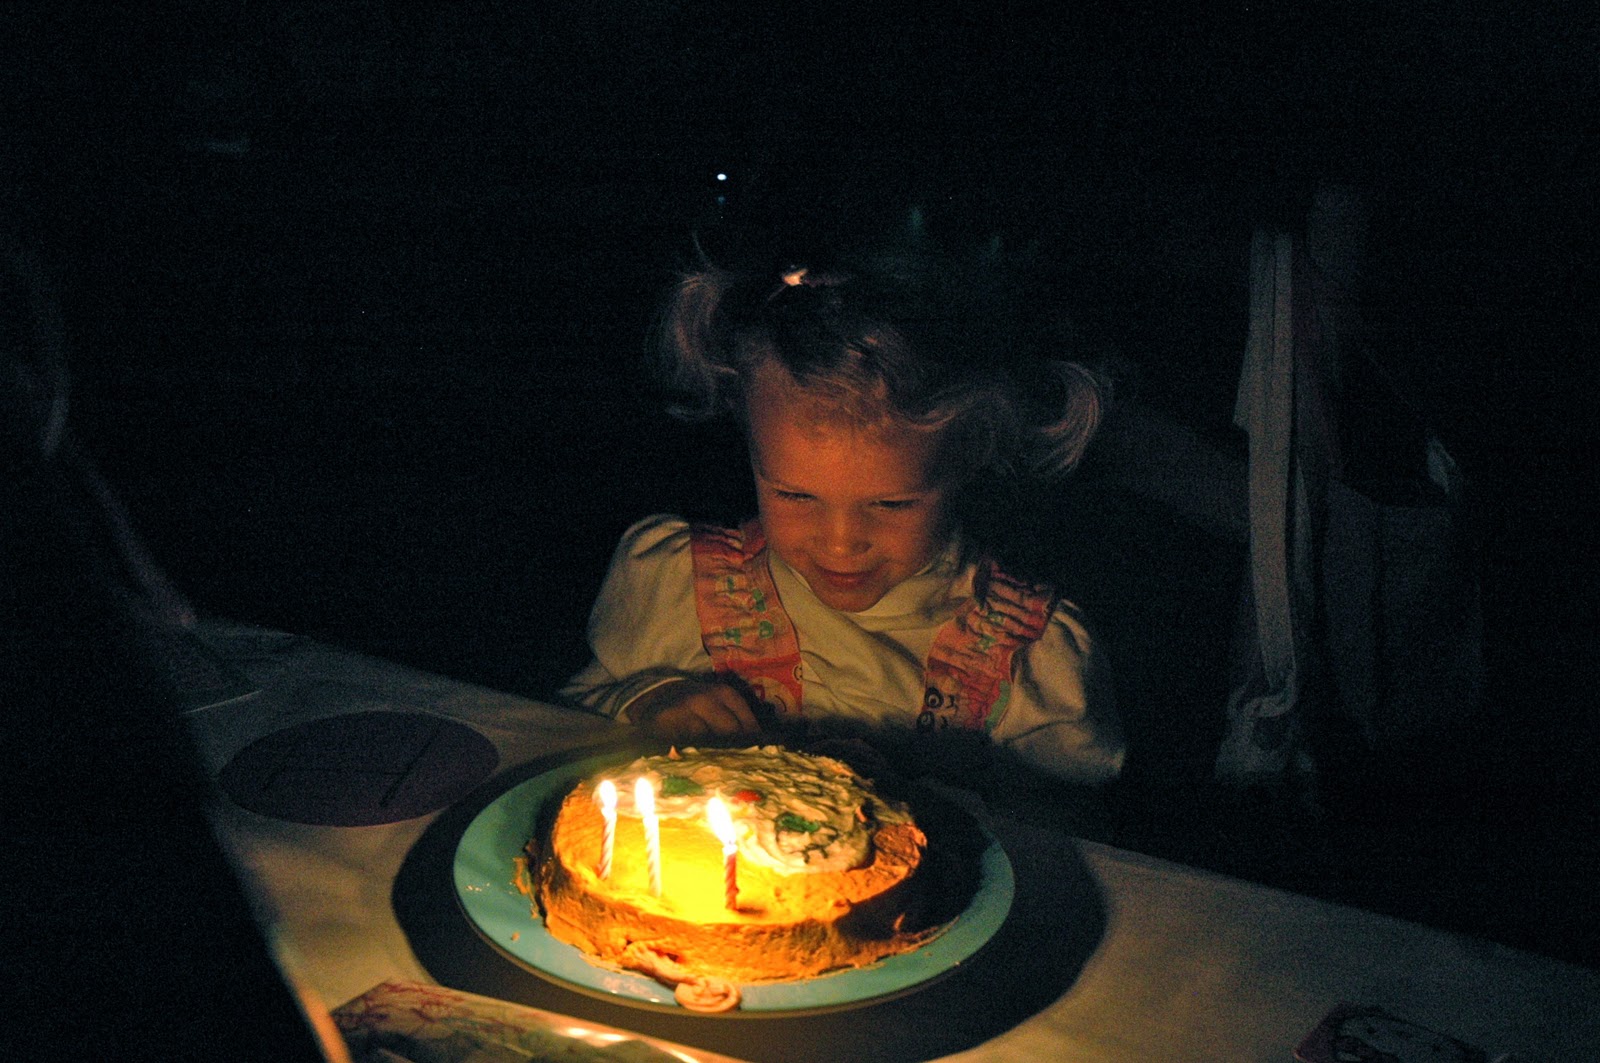


And she's three!
No comments:
Post a Comment