
A while back, we went to the fabric shop here and they each picked a Japanese type fabric they liked for me to make them a pillow case. In June, two of my kids were invited to a birthday party, so I decided to make the kids pillow cases as a present, who doesn't need or use a pillow case? At the same time, I pulled out the fabric I already bought for my kids and had a pillow case making party. My kids are obsessed with fuzzy fabric, so for the backs of all their cases, I used a big piece of white fuzzy fabric:

Today, my son had another birthday and I am not really sure what 8 year old girls like, so at 3:00 I decided to make her a pillow case. Here are step by step instructions on how I made it and finished it, ironing, cutting, sewing, and all BEFORE 3:45!
What you need:
3/4 yard fabric for main part
1/4 yard for small lip (I used a fat quarter)
1/3 yard for outer part (I used a fat quarter) it is okay to piece together scraps if you need to.
For a seam, I used 1/2" for everything.
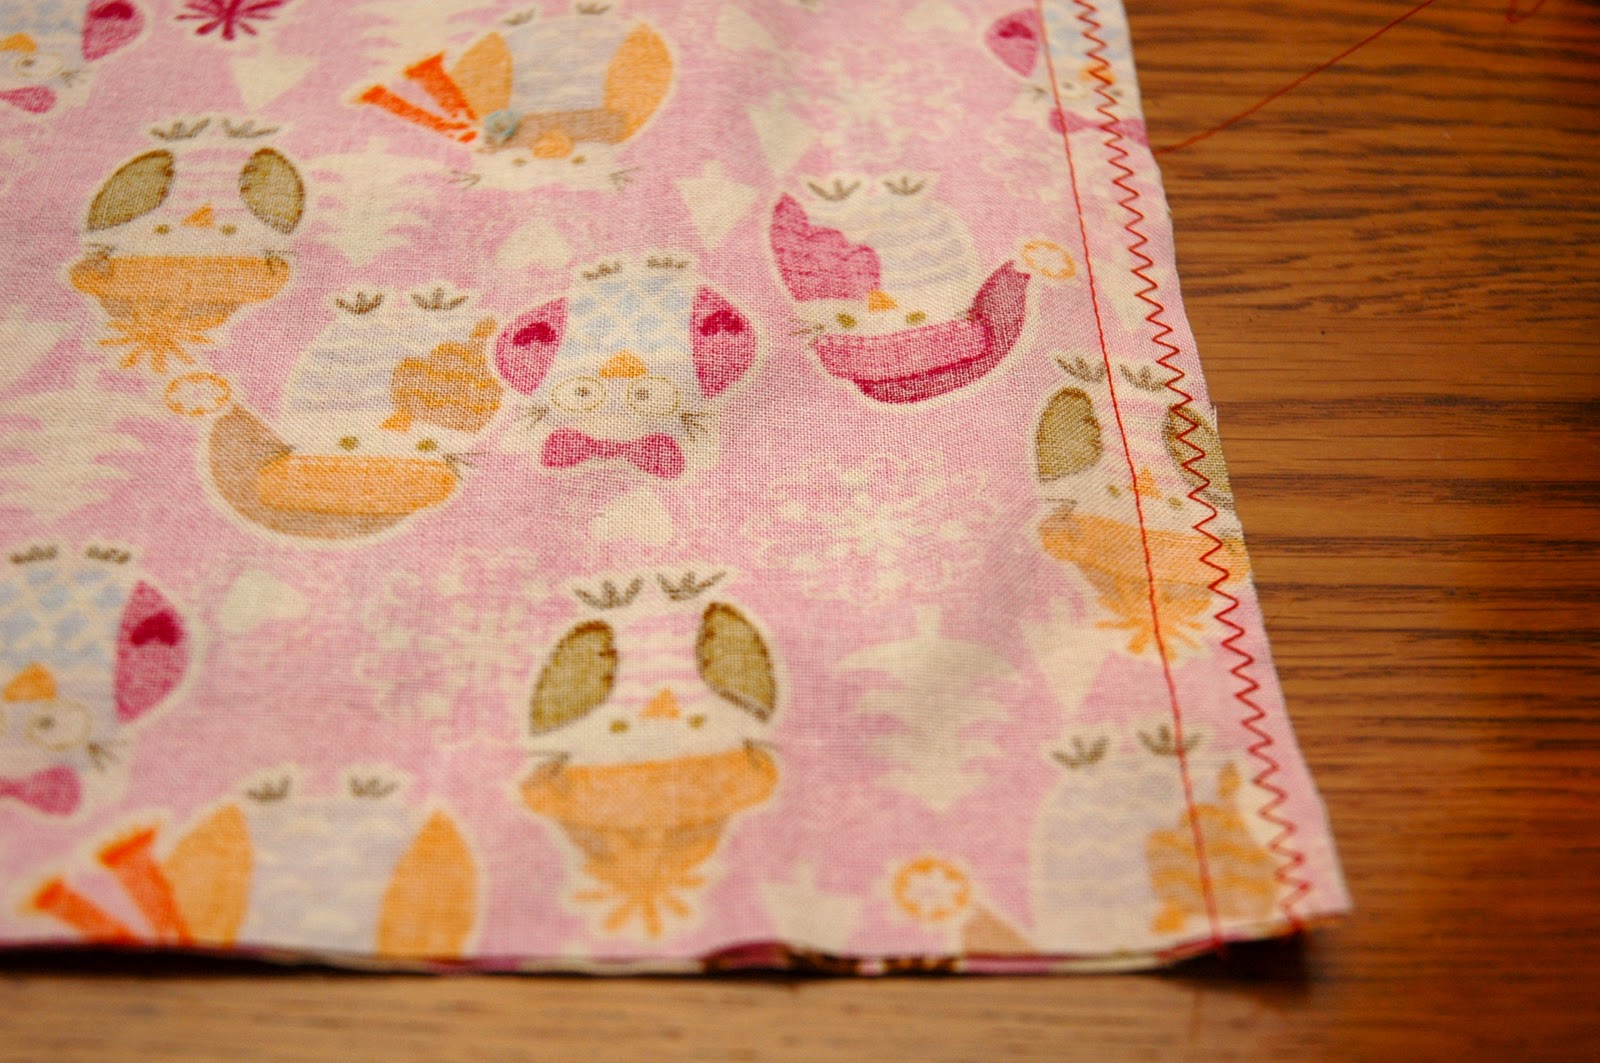
First, for the main part of the pillow, cut a piece of fabric 42" by 26.5" (if your fabric isn't big enough, you can cut 2 pieces of 21.5" by 26.5" and sew them together). Fold the piece of fabric in half on the long part (so when it's folded, it measures 21" by 26.5"). Sew along the bottom and open side's edges. If you have a serger, you can search, or if your machine is wicked old like mine, you can zigzag stitch to be sure no fraying occurs during washing:
Turn the main part right side out and iron flat.
Set this piece aside, now you will work on the small top lip of the pillow case. Cut a piece of fabric 42" by 1 3/4". Again, if your piece isn't long enough, cut two 21.5" by 1 3/4" pieces and sew them together. Sew the two ends of the fabric together, so you get a loop:

Fold this piece in half on itself so the insides are facing each other, it will now be 7/8" by 41" loop. Iron it to make the edge crisp:

Set this piece aside. Now for the main outer part of the case, cut a piece of fabric 11.5" by 42". I didn't have enough to do this, I only was using a fat quarter, so I cut two 9.5" by 21.5 " pieces and worked with that. Sew the edges together with right sides facing, so you get a big loop. Fold the piece in half, so that the wrong sides are facing each other. Iron to make the edge crisp. It will now be 5.75" by 41" loop.
Take the main part of the case and lay flat with the raw edge up. Matching the raw edges, place the small upper lip around it on the outside:

Matching raw edges again, place the outer part of the case around the small upper lip:

Sew along the raw edge to attach all three pieces together. Zigzag stitch the edge to avoid fraying. Flip the lip and top piece up and press with iron into place:

And you have a unique homemade gift in less than an hour. If you can sew straight lines, YOU CAN DO THIS!

The possibilities are endless, cupcakes for a birthday, superheroes for your son, princesses for your daughter, pumpkins for Halloween- Happy sewing!
I hope you are in Massachusetts next time one of my kids has a birthday party;) Those are too cute!
ReplyDeleteCorey
Corey- I'll be there for Grace's :)
ReplyDeleteBoo...N and Z's Birthdays aren't until after you have departed;)
ReplyDelete