For Maeve's first birthday, I wanted nothing but a rainbow cake. For the past few months, I've been looking for ideas, and even tried a few different ways of decorating cupcakes. In the end, the decision was easy, once I searched for rainbow cakes on pinterest and found the idea for
THIS cake on
Bakingdom blog.
My heart didn't come out quite as nice as hers, but hey, I had a migraine while I was doing this.
I was so excited to try and make the cake, but honestly, as the day approached, I began to get nervous. I felt like such a cake was WAY out of my league! I was thinking I'd have to make three batches of batter just to make all the cakes for the layers. Then, I went to Sur La Table and I found the cutest little cake pans- they are only like 4-5 inches.
About two weeks ago, I decided to try to make the rainbow cake. To make it, you have to make two 6-layer cakes! I used the recipe I posted a few weeks ago for
vanilla bean cupcakes with vanilla bean icing.
Here are the mini cakes:
Then, I frosted them with a coordinating color frosting, and stacked them into layers of three:
I refrigerated them to let the set about 20 minutes, before cutting out the centers to do the internal switch. Then, I stacked the cakes to make the two 6-layer cakes. I frosted the outside with a thin layer of plain white frosting.
The way I did this is explained
here at I Am Baker. I found the link from the Bakingdom blog.
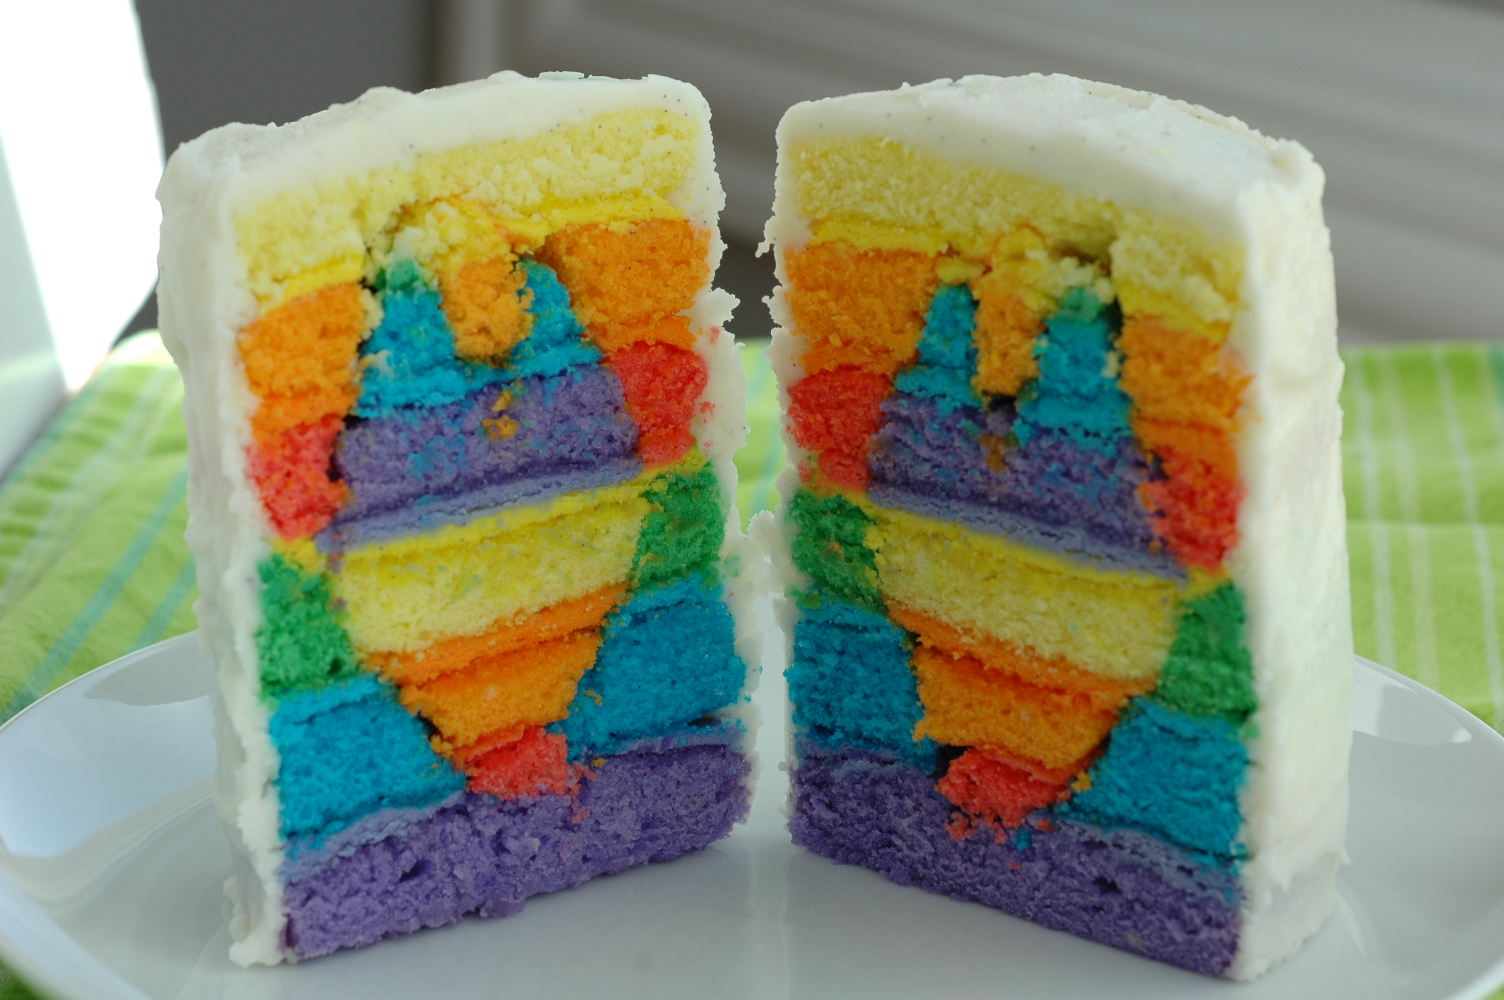
The big reveal:
We had a practice birthday that night, since I had already cut the cake:
Since it came out the way I wanted, I froze the second cake. It was in a tupperware in the freezer for almost 2 weeks. I put it in the fridge the night before her bday, then on the counter about 3 hours before the party, and it tasted GREAT! Huge time saver for a future birthday-make the cake ahead of time and freeze it!
I spent so much time putting them together and making sure they were in the right order, but failed to take into account that once you cut into the cakes, the top layers would be flipped over to connect them, so that is why my layers are not red, orange, yellow, green, blue, and purple. In the end, I don't care, they came out better than I thought, so I was very happy.
Since the cake was rather tiny to feed all of us at the party, there needed to be more cake. So, let there be cake push pops!
For the push pops, I used the same
cake recipe (doubled) as for the layer cakes and the same
vanilla bean icing recipe. I lined the bottom of my rimmed cookie sheets with parchment paper and greased the sides with butter. I divided the cake batter into six pans, and used Americolor food color gels to color them. Then, I was able to spread 2 colors in each cookie sheet, 1 on each half and spread them to meet in the middle. It was only about 1/4 inch of batter in the pan. I wanted it to be thin. I baked each pan about 5 minutes, then rotated it, and baked for 6 minutes more.
Once the cakes were cool, I used a shot sized measuring cup to punch out cake circles. I layered the cake circles into the push pops, starting with purple, and ending with red. Between each layer, I put a circle of vanilla icing around the cake circle, then I'd add in another circle. On top, I made a bigger swirl of frosting topped with rainbow non-pareil sprinkles. These were such a huge hit with the kids, assured that all cake was eaten, and NOT just frosting and was so much less messy.
I got the push pop containers on
amazon.com.


Cake baking is a wonderful hobby and joyfulness. It will definitely make the mind pleasure and stress-free.
ReplyDeleteBaking Classes in Chennai
Baking Courses in Chennai